PRACTICAL IMAGE EDITING
Select One Script in a Multilingual Image
To remove one script from a mixed-language image, identify the exact lines you own and intend to clear, then review their selection on the image. A recognition language setting is not a command to delete that language. Words and Characters are selection views, not guarantees that a box follows the visible ink of a glyph.
Published 2026-10-16 · Updated
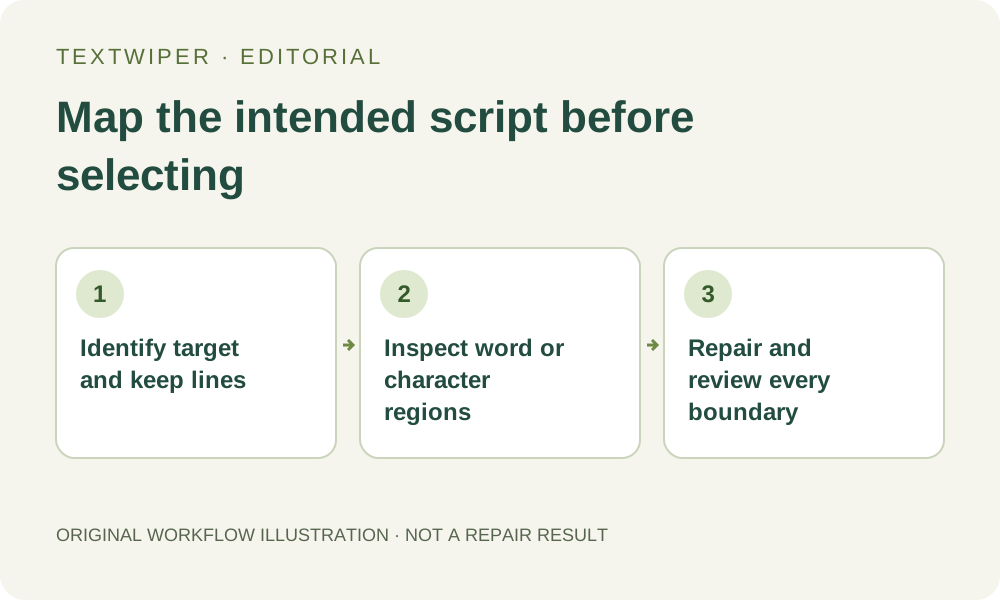
1. Define the task by visible lines, not a language name
Write a short keep-and-remove map before scanning. For example, an owned event image may contain an English heading, an outdated Japanese subtitle and a French venue name such as café. Identify the subtitle as the target while retaining the other lines, their punctuation and the accents that belong to them.
Script and language do not have a one-to-one relationship. Several languages use Latin letters, and a Chinese character can also appear in Japanese. Shared digits, punctuation and brand names may belong to more than one line. Do not assume that selecting a script identifies the intended language or decides whether shared text is obsolete.
2. Treat recognition as optional location help
Open a full-size JPG, PNG or still WebP copy in the text remover. If you want Find text to help locate candidates, review and accept its upload-permission prompt first. Choose an available recognition language appropriate to the target, or automatic detection, knowing that mixed text can be missed, merged or read incorrectly.
Nothing should be selected merely because it was detected. Compare the returned wording and regions with the actual image before choosing anything. A disabled recognition language is not an invitation to choose a different label and assume equivalent support; use Brush when scanning is unavailable or unsuitable. The interface language is a separate preference.
3. Review word and character boundaries on the canvas
- Begin in Words view to understand how the detected areas group together. Select only the target line or region, leaving neighboring scripts and shared labels outside the green mask.
- Switch to Characters if that offers a smaller real region. A finer view is possible only where the detection supplies usable subdivisions; a phrase-only box does not become accurate letter shapes.
- Look at the image rather than trusting the list order. Closely placed scripts, curved baselines or shared punctuation can make a region contain both wanted and unwanted content.
- Use Erase to cut back the removal mask and Brush to add missed target strokes. Protect retained letters where helpful, checking that protection does not also keep overlapping target ink.
- Keep accents, vowel signs and combining marks with their retained base letters. A small detached mark can carry meaning even when it looks like an isolated dot.
- Do not use Scan & erase matches as a script filter. That action repairs keyword matches directly; it does not classify every writing system or provide a separate boundary-review step.
4. Repair the reviewed region and inspect the whole result
Manual selection, repair and downloads are free during the current beta. Try Quick repair for an uncomplicated background or inspect Smart repair for texture. Keep the selection limited to the reviewed target; the separate automatic cleanup trial is limited and may change the entire image, so it is not a script-specific removal mode.
The full result is displayed by default. Select Show comparison when checking the nearest retained line, then Hide comparison to assess the complete image. If you revise a box selection or painted mask, the editor returns to the original; repair again before judging the new version. Switching between word and character views alone leaves the selection and existing result unchanged; only changing the actual removal selection requires another repair.
5. Check retained writing as complete units
Inspect every preserved line for missing accents, detached marks, broken joins or altered punctuation. For connected writing, a small cut can damage a whole readable unit rather than one independent letter. Where you do not read a retained language, ask someone who does to check the final wording instead of treating a tidy outline as approval.
Download PNG and reopen the actual file. Check it at a readable size and at the intended display size, including gaps between languages and any shared numerical information. TextWiper does not translate, retype or add replacement text, and this selection workflow does not verify the linguistic correctness of either retained or removed wording.
6. Stop when two scripts share the same uncertain region
Stop if the only available region spans target and retained text and you cannot trim it reliably, or if decorative overlap makes their ink inseparable. A bounding region is not a true glyph contour. Protect retains the input where it is painted; it cannot reconstruct a retained accent hidden beneath the text being removed.
Return to the editable source, request a clean background or change the design in another application. Unlike removing a known repeated word, this task depends on visual grouping and script context, not keyword equality. A partially cleared target is preferable to silently damaging a retained language that you cannot adequately check.