PRACTICAL IMAGE EDITING
Remove Text from a Transparent PNG Without Rebuilding Its Alpha
Before removing overlaid text from your own transparent PNG, determine whether the lettering sits on an opaque panel or forms part of the transparency itself. Manual repair changes selected colors while retaining the input alpha. That makes the location of the text more important than the file extension alone.
Published 2026-10-17 · Updated
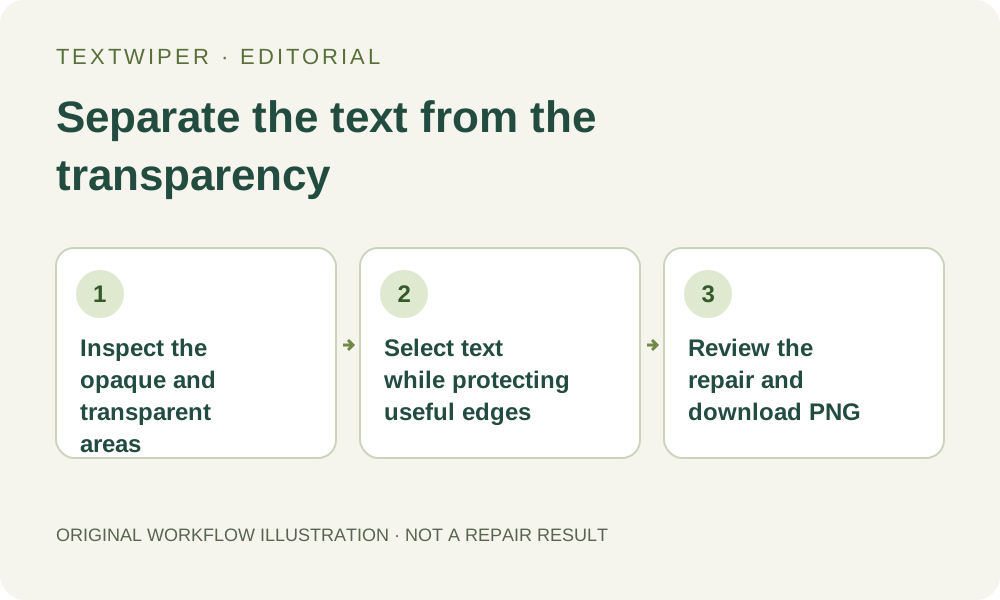
1. Identify what the PNG actually contains
Keep an untouched copy and, if available, open the layered source in its design application. Removing a separate text layer there avoids guessing the artwork beneath it. TextWiper handles a flattened image, not editable layers, a clipping path or a recovered transparent background.
Look at the target and nearby edges over a checkerboard or a contrasting background in an image viewer. A fully opaque white card can sit inside a mostly transparent file. Conversely, a pale-looking letter can be partly transparent. The checkerboard in the editor indicates transparency; it is not a pattern that the repair should manufacture.
2. Decide whether retaining alpha suits this edit
For manual Quick or Smart repair, the selected region receives repaired color values while its input alpha remains. Pixels outside the final removal mask keep their decoded values. This is different from deleting a text object or making a selected area transparent.
A DRAFT label on an opaque panel is therefore a different task from isolated letters whose edges define the alpha shape. Repairing the colors of those isolated letters does not guarantee that their visible silhouette disappears. If your intended result needs a new transparency boundary, return to an editor that explicitly changes that boundary.
3. Build a mask around the unwanted overlay
- Open your authorized PNG and read the image dimensions. Manual inputs can be up to 10 MB, 4096 pixels per side and 16 megapixels. The displayed zoom percentage does not change those dimensions.
- Zoom until the letter edges are clear. Use Pan to position the target without drawing, then choose Brush and cover the lettering, including its visible outline or shadow.
- Use Erase to remove accidental green coverage from a cutout edge, small hole or decorative detail. Erase changes the selection; it does not clear image alpha.
- Add blue Protect marks where a nearby logo or soft edge must stay. Protection can also retain unwanted text when it overlaps that text, so inspect both colors.
- Find text is optional. If used, read its upload permission and check the detected positions manually; it does not classify every pixel as opaque or transparent.
4. Try a repair inside the existing shape
Choose Quick repair as a starting point for a small label on an even panel. Smart repair can be tried for texture, but neither guarantees a clean patch. Run the selected repair explicitly. These manual tools and PNG downloads are free during the current beta without an account.
The full result appears after processing. Use Show comparison to locate a change, then hide comparison to inspect the finished artwork. Changing the mask or protection returns to the original for the next repair; an earlier result does not demonstrate what the revised selection will do. Whole-image automatic cleanup is a separate limited trial and rejects transparent inputs.
5. Review color repair and retained transparency separately
First inspect the former lettering: look for a remaining outline, a dirty-looking rectangle or a break in the panel texture. Then inspect the intended cutout boundary, holes and soft edges. A quiet-looking panel is not proof that a hidden illustration was recovered, and retaining alpha does not prove that the selected colors suit your design.
The existing transparent-card practice case has DRAFT on an opaque white panel, away from its transparent and partly transparent decoration. Its recorded output illustrates that limited arrangement. It is not evidence that letters overlapping every kind of transparent edge can be removed successfully.
6. Check the actual PNG in its destination
Download PNG and reopen the file in an application that displays transparency. Place it over the background where you intend to use it, and check light and dark surroundings if both matter. Confirm its dimensions and inspect the panel, cutout edge and any retained logo again. A JPEG export would flatten transparent areas onto white and re-encode the whole picture.
Keep the original and reviewed export separately. If removing the text requires inventing a new outline, revealing an obscured object or changing opacity, stop this workflow and use the design source or a suitable transparency editor. This article plans the actual selection task; it does not report a new repair test.