PRACTICAL IMAGE EDITING
Erase Text from a Photo with the Brush Tool
Use Brush when you want to erase a caption, date or selected lettering from a photo without depending on text detection. Painting creates a removal selection; the text disappears only after you choose a repair mode and run the repair. Editing and downloads are free during the current beta, with no signup required.
Updated
Watch the selection and repair steps


Recorded Smart repair result
The demo photo was generated with AI. The mask and recorded result come from an actual brush edit and Smart repair in TextWiper. Playback speed is illustrative; results vary with the image and selection.
Try the brush on this photoFind text and keep control
Choose Find text to suggest words in your image. Before the first scan, we ask permission to securely send a resized working image to TextWiper and its text recognition service providers. Continuing covers images you explicitly scan on this page, including batches; closing or reloading the page resets permission. Opening a file or watching a demo does not send an image.
TextWiper does not save the working image or recognized text. Service providers handle data under their own policies. You can also mark text with the brush without running recognition. Repair and downloads remain in your browser. Optional accounts do not store your images or recognized text.
Text recognition has temporary usage limits. Using the brush, repairing an image and downloading do not use recognition allowances. If recognition fails, times out or reaches the limit, try again explicitly or use the brush. See the image-processing and privacy details.
Understand the colored selection first
The green overlay marks pixels that may be repaired. It is a selection, not paint added to your photo. The blue overlay marks areas protected from removal. Neither color is added to the exported image.
Start with a picture you own or have permission to edit. TextWiper accepts JPG, PNG and still WebP up to 10 MB, 16 megapixels and 4096 pixels per side. You can load the self-created practice picture to learn the brush without opening your own photo. Loading it does not scan text, paint a mask or run a repair automatically.
Paint over the unwanted letters
- Open and zoom in. Choose your image, then use the zoom controls until the letter edges are easy to see. Pan moves around the image when it is zoomed in.
- Choose Brush. Adjust the brush size for the lettering. A smaller brush near a logo or edge makes the intended area easier to control.
- Cover the text with short strokes. Paint over the letters and any visible outline or shadow. Keep the surrounding scene outside the green mask where possible. A broad swipe over unrelated objects makes the repair task harder.
- Correct the mask. Erase removes part of the green selection; it does not delete original photo pixels. Undo and Redo can reverse or restore a stroke. Area can add a rectangle when the text sits entirely on a plain panel.
- Protect what stays. Use Protect over nearby branding, product edges or other important details. Protection takes priority in overlapping areas, so inspect the target letters if a keep area is close to them.
- Choose and run a repair. Try Quick repair for a small, smooth background, or Smart repair for a more complex area. Then use Remove selected text. Brushing alone does not start processing.
- Compare, refine and download. Inspect the original and result with the comparison slider. A faint outline needs a better mask; a broad patch may need a smaller one. Download PNG or JPG only after reviewing the output.
Choose a repair mode for the background
| Picture detail | Practical starting point | Possible problem |
|---|---|---|
| Small lettering on a plain label or smooth wall | A close brush mask and Quick repair. | A color patch or letter halo can remain. |
| A larger caption over texture | A close mask and Smart repair, then compare. | Texture may be invented, softened or repeated incorrectly. |
| Text over a face, product seam or fine logo | Protect the detail and use smaller selections; look for an unlettered source if needed. | The text may cover information that no repair can recover reliably. |
These are selection tips, not a measured quality ranking. Smart repair is available for free in the current beta; its first use may take longer while required files load. Processing time depends on your device and selection. The free tools guide explains the available features and limits.
Troubleshoot a brush edit
- I brushed the text, but it is still there.
- The brush marks a mask. Choose a repair mode and click Remove selected text after the mask is ready. If the repair button is unavailable, check that an image is loaded, an effective removal area exists and no operation is still running.
- Part of a letter remains after repair.
- Compare at a larger zoom. Use Brush to cover the missed edge, shadow or stroke, then repair again. Changing the mask returns to the original image for the next repair, rather than proving that the previous result used the new selection.
- I accidentally selected the brand.
- Undo the stroke or use Erase to shrink the mask. Paint a protection area over the brand before repairing. A clean mask is more useful than hoping that the repair will understand the brand name.
- The result looks blurry or has a visible seam.
- Reduce the unrelated background in the mask and try the other repair mode. If the text overlaps an important detail, use the original source design or an unlettered picture instead of relying on an inferred replacement.
- I want the same word removed from ten pictures.
- For repeated wording, custom keyword matching and the batch workspace can save manual selection work. Keyword detection still needs review; Brush remains useful for missed letters.
Download the format you need
PNG retains transparency and decoded pixels outside the repair mask. JPG is useful for opaque photos but re-encodes the entire image and turns transparent areas white. See the background and export guide when surrounding pixels matter.
TextWiper does not add a download watermark in the free beta. The original, selection and result remain in this page's memory, so save the result before closing the tab. Optional accounts save preferences and keyword rules, not your photos.
Use the same selection tools for a watermark
A corner logo or translucent mark needs a manual selection rather than automatic word matching. The watermark editor starts with Brush and uses the same Area, Erase, Protect, comparison and download controls. Follow the watermark guide for two recorded examples and checks for softened texture or leftover edges.
Practice a brush selection on a sale label
Load this self-created picture and paint over SALE with Brush. The comparison below is an existing real Quick repair reference from the batch keyword workflow. Its recorded mask was made by text recognition matching, not by a recorded manual brush stroke.
Try this example in the editor
Loads only this site’s samples. No automatic scanning, removal or saved word rules. Follow the steps below.
- Use the practice link to open this picture. It does not select SALE or run a repair for you.
- Choose Brush and paint only over SALE and its visible edges. Keep NOVALE and the product outline outside the mask.
- Use Erase to correct a wide stroke, or Protect if a nearby detail is close to your selection. Choose Quick repair and run the repair.
- Compare your own result and download PNG if it is usable. The earlier reference below illustrates the same target area; your manually painted mask and output may differ.
A self-created sale picture; existing keyword-repair reference
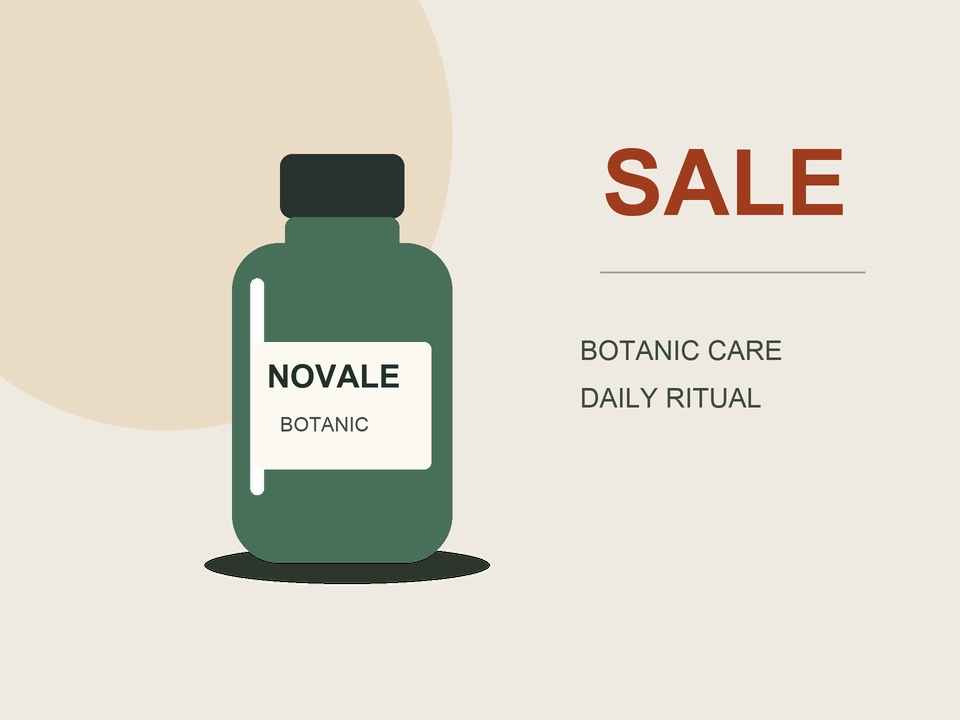
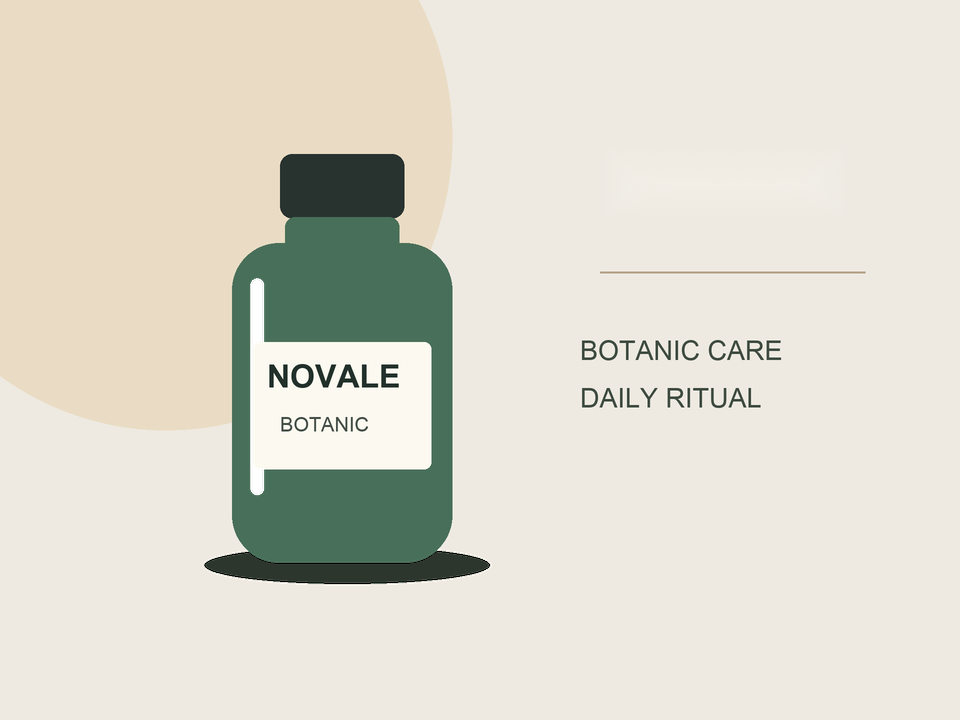
White in the mask marks pixels allowed to be repaired. The dark background only makes the transparent mask visible.
The original, text-recognition mask and Quick repair output below are authentic existing files from the batch case. They are not evidence that the brush produced this exact result. This picture has a smooth background; other photos may produce visible seams or invented details.
Self-created samples · Real browser workflow · Quick repair · October 11, 2026