PRACTICAL IMAGE EDITING
Remove Text While Preserving the Surrounding Background
To preserve the surrounding image, keep the removal mask close to the text, protect nearby details and inspect the result in PNG. Pixels hidden by the letters need to be inferred; removing text cannot reveal a guaranteed original background.
Updated
Know which pixels the repair changes
Image text usually covers background pixels in a flattened picture. TextWiper fills the selected area using surrounding information. It can make a plausible replacement, but it does not recover the hidden original or promise a perfect result.
PNG export preserves transparency and the original decoded pixels outside the repair mask. That does not mean the exported file is byte-for-byte identical to the original. JPG re-encodes the whole image, so choose PNG when the unchanged area is especially important.
Make a small, deliberate selection
- Start with the right file. Use a JPG, PNG or still WebP up to 10 MB, 16 megapixels and 4096 pixels per side. Start from the highest-quality original you have within those limits.
- Find the target text. Detect with English or Chinese + English, then select only the unwanted words. You can also brush manually when the text is missed.
- Zoom in on the mask. Green marks the pixels to remove. Cover the letters and their visible edges without including a large part of the scene. Erase shrinks the mask and Area adds a rectangle.
- Protect nearby details. Paint blue protection over a logo, product edge or other area that should stay. Keyword keep rules can protect recognized brand text, but manually check important details.
- Try a repair mode. Quick repair uses surrounding colors and is suited to smoother backgrounds. Local AI repair may help on textures or larger selected areas; it can also produce artifacts.
- Compare before exporting. Inspect letters, shadows, edges and repeated patterns with the comparison slider. Adjust the selection if necessary; changing it returns to the original for the next repair.
Match the approach to the background
| Background | First approach | What to inspect |
|---|---|---|
| Smooth color or gentle gradient | A close mask and Quick repair. | Visible color seams and remaining letter edges. |
| Texture or repeated pattern | A close mask, then try Local AI repair if needed. | Invented texture, broken repetition and soft patches. |
| Fine line, face, logo or product edge | Protect the important detail and use smaller selections. | Whether the text overlaps information that cannot be recovered reliably. |
These are starting points, not measured quality guarantees. If the text covers an essential detail, a clean original or the source design file may be a better option.
Fix common repair problems
- A faint outline remains.
- Zoom in and use Brush to cover the visible edge or shadow that was outside the mask. Repair and compare again.
- The repaired patch is too large.
- Use Erase to reduce the mask, protect nearby details and retry with a smaller area.
- The background looks invented or blurred.
- Try the other repair mode and a narrower selection. If neither gives a usable result, keep the original; the tool cannot guarantee reconstruction of details hidden by text.
- AI repair takes time on the first run.
- The local model download is approximately 28 MB. Processing runs on your device. For batches of up to 10 images and 40 megapixels total, repairs run one image at a time.
Choose an export that fits the image
| Format | Background behavior | Typical choice |
|---|---|---|
| PNG | Keeps transparency and decoded pixels outside the mask. | Transparent artwork or when unchanged surrounding pixels matter. |
| JPG | Flattens transparency to white and re-encodes the whole image. | Photos where a non-transparent JPG result is appropriate. |
No account is required, and there is no download watermark during the free open beta. Your images stay in the browser; download the result before leaving.
Worked example: remove DRAFT from a transparent PNG
This self-created PNG includes transparent and partly transparent pixels around an opaque card. DRAFT sits on the white panel, away from the brand and the transparent edge.
- Download the original PNG; the checkerboard here is a preview background, not part of the file.
- Upload it and use Area to select DRAFT with a small margin. Keep NOVALE and the decorative edges outside the selection.
- Use Quick repair, compare the panel and edges, then download PNG.
- The actual export retained the sample’s transparent and partly transparent pixels. JPG would flatten transparency to white.
An opaque text area inside a transparent design
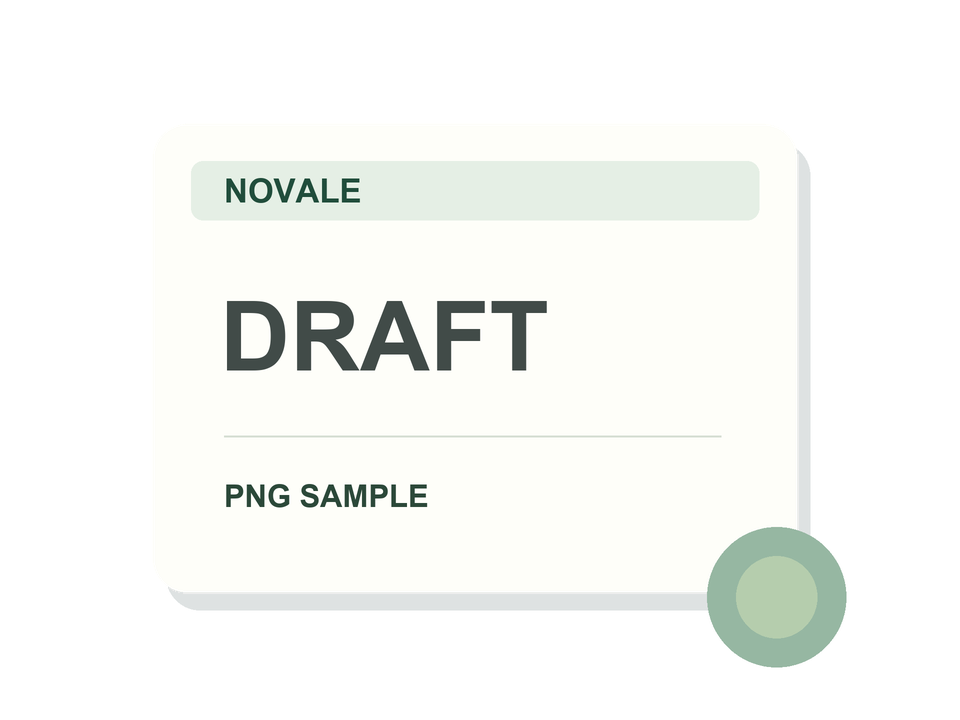
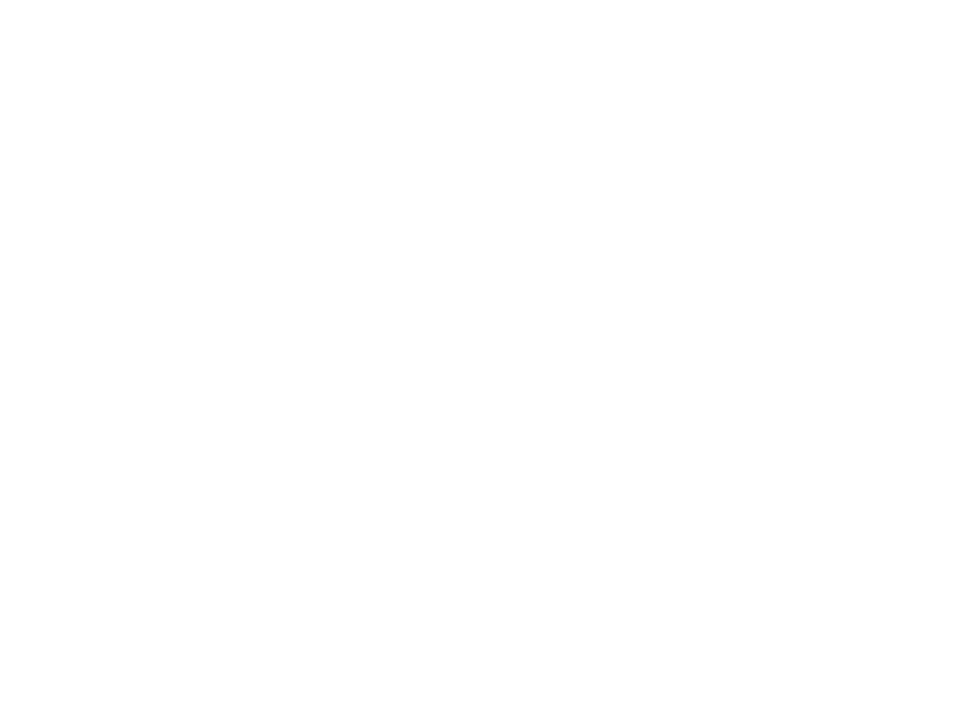
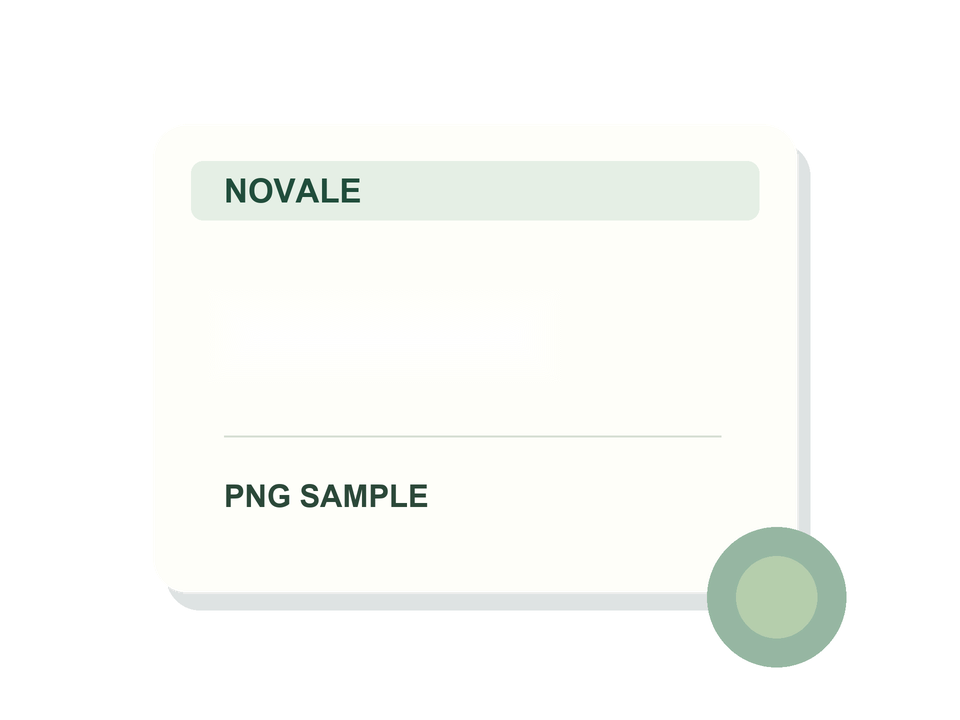
White in the mask marks pixels allowed to be repaired. The dark background only makes the transparent mask visible.
In this sample, decoded pixels outside the removal mask and all alpha values were unchanged. This does not mean the exported file is byte-for-byte identical, or that repair can recover original detail hidden under text.
Self-created samples · Real browser workflow · Quick repair · October 11, 2026