PRACTICAL IMAGE EDITING
Update an Old Contact Line While Keeping the QR Code
To update contact details on your own flattened banner, record and verify the replacement information first, clear only the obsolete line, and finish the new wording in a separate layout editor. Keep the QR code and its surrounding clear space out of the removal selection. TextWiper neither creates QR codes nor checks where they lead.
Published 2026-10-16 · Updated
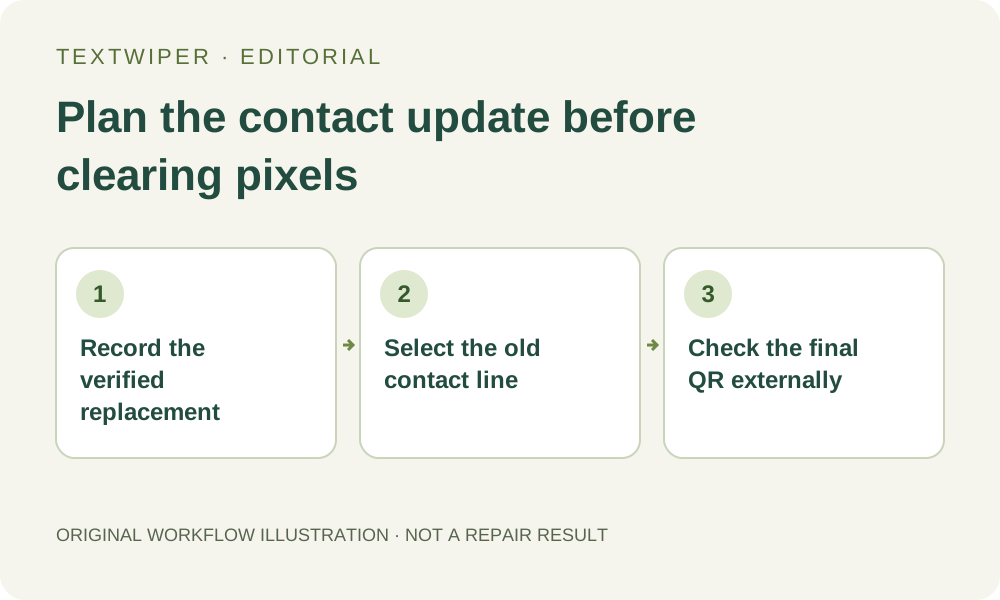
1. Verify the new contact and the existing destination
Write the old contact line and its verified replacement into a separate change note before editing. Confirm the new address, phone number or account with the person responsible for the banner. Clearing pixels does not establish that the replacement works, and a nearly identical spelling can direct a customer somewhere unintended.
Scan the existing QR code using an appropriate separate reader and record its actual destination. Check whether that destination still contains the old contact information. If the banner and linked page need different updates, assign both tasks now; preserving a working-looking code does not keep its destination information current.
2. Define a QR keep area wider than the visible pattern
Use the editable banner file if it is available. Otherwise open a copy of the full-size JPG, PNG or still WebP. Identify the old contact baseline, nearby icons, the QR pattern and the surrounding blank space. Treat that clear space as part of the keep area rather than spare room for repair.
Choose a boundary that leaves the code and its surrounding area untouched by your green removal mask. Blue Protect can help guard that region, but protection retains the input, including unwanted lettering if the regions overlap. It does not rebuild damaged squares or certify that a scanner will read them.
3. Clear one contact line in the manual workflow
- Open the copy in the text remover, choose Brush, and zoom until the old line and QR boundary are easy to distinguish. Do not select the entire contact block.
- Paint the letters, their outline and their visible shadow in short strokes. Use Erase to trim any green selection that approaches the QR keep area or retained contact icons.
- If optional Find text would locate the line more easily, read and accept its upload permission before scanning. Inspect the actual boxes; a detected line may include neighboring information.
- Try Quick repair for a plain banner background. Consider Smart repair for texture only after checking that the selection stays narrow; neither mode reconstructs a QR code.
- Inspect the repair before proceeding. Changing a selection returns the view to the original, so run repair again rather than judging an obsolete result.
- Keep this task in the free manual workflow. The separate automatic cleanup trial is limited and may alter the whole image, making it a poor substitute for a carefully excluded QR region.
4. Review the whole result, then inspect the boundary
The complete repaired image is shown by default. Look for a pale patch, leftover underline or ghost digits where the contact line stood. Select Show comparison to locate changes around the QR boundary, then Hide comparison to judge the banner without the split view concealing part of it.
Inspect the spaces between the old line, QR area and nearby divider. A repair can make blank space look uneven even when the pattern itself appears intact. Do not solve a residual letter by widening the mask across the code. Return to the selection or recover a better source banner.
5. Typeset elsewhere and test the actual final file
Download the cleaned image, reopen it, and add the verified new line in a separate layout application. TextWiper does not add replacement text, identify a font or update a linked landing page. Keep the original, cleared background and completed banner as distinct files so each change remains traceable.
Scan the finished export externally after typesetting, resizing and compression. Confirm the destination and the visible contact line agree. If the banner will be printed, test a sample at its intended display size rather than relying on a scan of a large monitor preview. This is a separate practical check, not a TextWiper validation.
6. Stop when the old text intrudes into the code
Stop if the obsolete line crosses QR modules or their clear boundary, if the source is already blurred, or if the final exported banner stops scanning in your external check. A cleaner-looking repair cannot prove that the original encoded information remains intact. Do not invent missing squares or rely on visual symmetry.
Return to the original design or obtain a fresh code from the authorized destination owner, then rebuild that section in the appropriate application. Save the change note and successful final check with the project. Do not publish a cleaned blank banner as though the verified replacement contact had already been added.