PRACTICAL IMAGE EDITING
Check a Repaired Image Before You Publish It
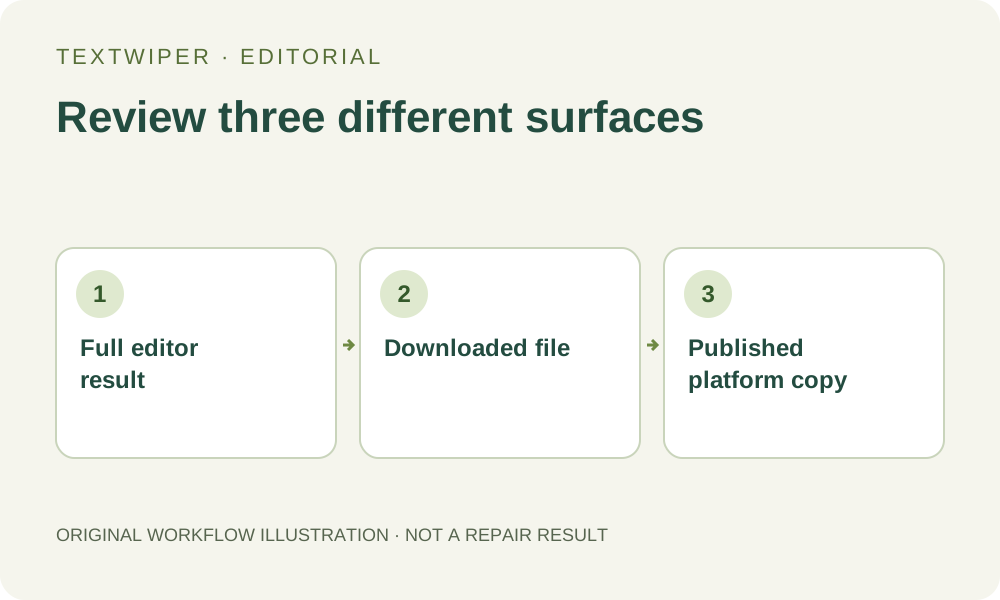
The final preview should show the whole repaired image. Before publishing, also inspect the downloaded file and the version that the destination platform actually displays.
Published 2026-10-14 · Updated
Inspect the full result first
After repair, TextWiper shows the entire result. The original does not cover half the image by default. Show comparison is an optional action that adds a split view for inspection; Hide comparison returns to the whole repaired image. Opening a saved batch result also starts with the full result.
Check the unwanted word and the details around it, then look at the rest of the image. A convincing small area does not excuse a changed logo, bent product edge, altered facial feature or missing intentional clothing text elsewhere.
Use two viewing scales
- At original size, look for faint outlines, small leftover characters and abrupt texture transitions.
- At the intended publication size, check readability, overall composition and whether the repair attracts attention.
- Use comparison to locate changes when useful, then return to the full image so you evaluate the actual final composition.
- If you change a selection, repair again. A revised mask by itself is not an updated finished image.
Reopen the downloaded file
A successful download action means the browser prepared a file; it does not prove that the file was saved in the folder you expect or that a later platform accepted it. Open the exact PNG or JPG you plan to upload and check its dimensions, transparency and selected version.
Manual PNG repair and JPG export have different preservation behavior. JPG flattens transparency and re-encodes the whole image. For automatic cleanup, inspect unprotected areas across the whole image because they may also have changed.
Verify the destination copy
After an authorized publication, look at the image on the receiving platform. Its crop, background, preview compression or cache may differ from your source file. Keep the unedited original and the accepted export separately so you can correct a bad crop without starting again.
This final check is especially useful after a batch: reconcile each successful export with the intended source image rather than assuming that every item in the original selection has a finished output.