PRACTICAL IMAGE EDITING
Remove Text from a Gradient Background and Check for Color Bands
A gradient is not one flat color. Before removing text, identify where the background gets lighter, darker or changes hue. Repair a small selection first, then inspect whether the transition still passes naturally through the edited area instead of becoming a flat patch or a new band.
Published 2026-10-15 · Updated
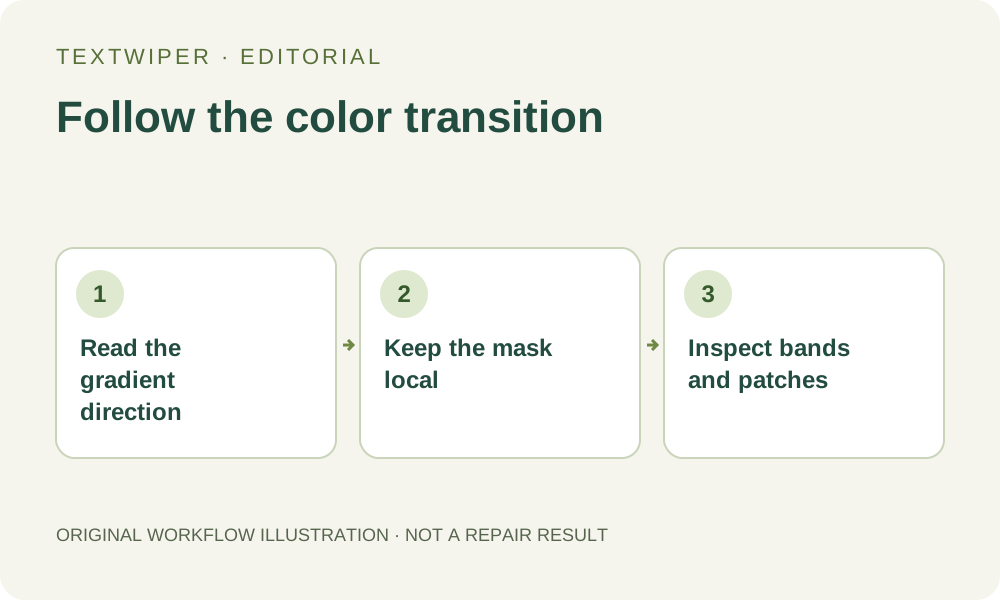
Read the gradient before you mark the letters
Look beyond the word itself. Does the color change from left to right, from top to bottom, or outward from a highlight? Compare nearby areas on both sides of the text. A selection spanning a large brightness change gives a repair method different surrounding colors to reconcile; filling it with one convenient tone can interrupt the transition.
Also check whether the banding you see already exists in the original. A compressed image may contain visible steps between shades before any repair happens. Keep that original open separately so a pre-existing band is not mistaken for a new defect. If a layered source contains the gradient and the text separately, removing the text layer is the more controlled approach.
Choose by the background inside this particular word
Use Quick repair as a first attempt when the immediate surroundings are nearly even, even if the wider image contains a gradient. Its surrounding-color fill may be sufficient for a small letter on a gently changing area. This is a local decision, not a claim that all gradients behave like plain backgrounds.
Consider Smart repair when visible grain, fabric, a photographic texture or other detail runs through the transition. A smooth digital gradient alone is not a reason to assume Smart will be better: reconstruction can introduce a slightly different texture or a patch with the wrong brightness. Inspect the same selection and judge continuity, rather than choosing a mode because its name sounds more advanced.
Make a selection that does not flatten a wide color change
Work on an image you own or have permission to edit. You can paint the selection without recognition. If you use Find text, first approve its separate recognition upload, then review the detected area before selecting what to remove.
- Open the image and locate the gradient direction, any highlight center, and any existing color bands before selecting text.
- Use Brush for the lettering and its visible edge. Use Erase to remove unnecessary green mask between widely spaced letters or outside their shadows.
- Begin with a small part of the word where the surrounding shades are close. Avoid covering an entire panel of the gradient simply to make the selection easier.
- Run Quick repair for the near-flat case, or inspect a Smart attempt when texture actually matters. The editor shows the complete result after repair; enable comparison only when you want the original alongside it.
- Adjust the selection if necessary. Selection changes return to the original, so evaluate the complete new result rather than repeatedly painting over a previously repaired patch.
- Download PNG and reopen it. If you also need JPG, export that separately and inspect it as a separate file, because additional compression can change the appearance of gentle transitions.
Inspect along the gradient and across it
At a closer view, follow a line through the repaired word in the direction the color changes. Look for a sudden bright or dark step, a rectangular island, or repeated smearing. Then scan across the transition: the edges of an existing shade band should not bend around the old letters or stop at the removal mask.
Return to the intended display size as well. A close view helps reveal defects, while the normal view shows whether the repair draws attention in the actual composition. The zoom controls only change the workspace display. They do not add shades, rebuild missing texture, or prove that a downloaded image is acceptable. Check the exported file itself.
Know when a fresh gradient is a better source
Reject a result if the cleared word becomes a flat block, a halo follows the former letters, or a new band crosses the repaired area. If a smaller mask and a carefully reviewed alternate mode still leave a visible interruption, return to the original design or recreate the gradient in a design editor where the color stops can be controlled. Repeated repair is not a dependable way to rebuild an already posterized source.
Manual selection, Quick repair, Smart repair and downloads are free during the current beta. Whole-image automatic cleanup is an optional, limited sign-in trial with separate upload consent and allowance; it is not an unlimited gradient-restoration service. The illustration in this article explains what to inspect and does not claim that a particular gradient has been tested or repaired.