PRACTICAL IMAGE EDITING
What Erase Does in TextWiper: Correct the Removal Mask Before Repair
If the green selection spreads from an unwanted caption onto part of the picture you need, choose Erase to reduce that selection. The tool does not immediately rub out image pixels or make them transparent. It edits the removal mask used by the next manual repair. Understanding that distinction prevents a common mistake: brushing over the wrong region and then interpreting an old preview as the result of the new selection.
Published 2026-10-18 · Updated
1. Separate the target, the mask and the result
The source image is the picture loaded into the editor. The removal mask is the area you ask Quick or Smart repair to replace. A result exists only after you run repair. Green shows a pending removal selection when Show mask is enabled; it is not a destructive paint layer on your source file.
Imagine an old activity caption beside the handle of your own product photo. A broad brush stroke catches both letters and part of the handle. This is an original planning scenario, not a newly processed example. The correction is to withdraw the handle from the mask before asking for another repair.
2. Look closely before choosing the correction
Zoom until the boundary between lettering and useful detail is clear. Use Pan to move the image without marking it, then select Erase. Choose a brush size small enough to trace the mistaken coverage without clearing the complete target. Hiding the mask only hides its colored overlay; it does not cancel the selection.
A text recognition checkbox may remain selected even after you erase part of its area. The visible final mask matters because Erase can cut into a selected detection as well as a painted stroke. Do not rely only on the selected-word count to decide which pixels the next repair will replace.
3. Withdraw the mistake and keep the actual letters selected
- Keep the source file separately and open your permitted image. Use Brush or Area to mark the unwanted lettering; recognition is optional.
- Turn on Show mask, then inspect the green boundary at a useful zoom. Identify which useful detail was accidentally included.
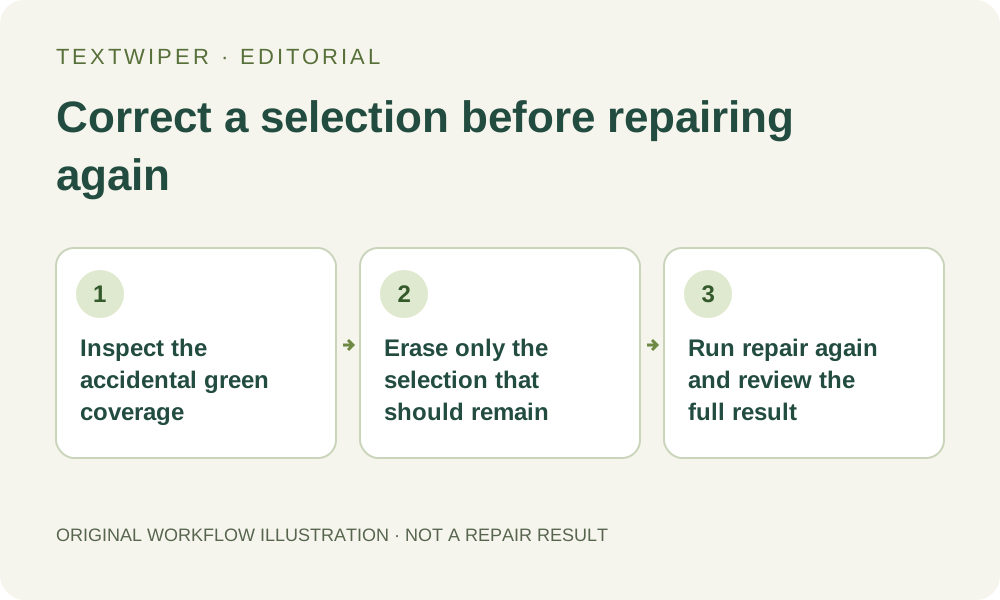
- Select Erase and draw across that accidental green area. Return to Pan when you only need to reposition the image.
- Switch back to Brush if you withdrew a letter edge or shadow that still needs removal. Recheck the final green shape.
- If a visible detail must remain protected from subsequent selection strokes, add blue Protect coverage and inspect its overlap with the text.
- Choose Quick or Smart repair and run it explicitly. Erase by itself does not produce a new repaired image.
4. Expect the previous result to become unavailable
Starting a mask edit invalidates the current result and returns the display to the original image. This is deliberate: a preview calculated from the old mask cannot demonstrate what a smaller mask will do. The comparison controls also require a current result. Run repair again after finishing the correction.
Do not interpret the return of the original lettering as a failed Erase operation. Check whether the mistaken green area has gone. Undo and redo also restore selection states and require another repair; they are not a stack of finished image versions. Keep any reviewed export you need before changing the selection.
5. Check both the preserved detail and the repaired edge
After repair, the default view shows the whole result. Inspect the handle first: is its edge intact and does its connection to the object look plausible? Then look for a letter fragment or halo where you narrowed the mask. Withdrawing too much can preserve unwanted text alongside the detail you wanted.
Use Show comparison briefly to locate changes, then hide it to judge the complete picture. A comparison divider intentionally includes part of the original; it is not evidence that only half the edit was applied. If the caption covers the handle itself, no mask correction can reveal its true hidden shape.
6. Know when Erase is the wrong tool
Erase corrects where a manual replacement is requested. Protect expresses an area to keep, including protection that takes priority over later removal coverage. Neither is a crop tool, a transparency editor or a way to move the caption elsewhere. Whole-image automatic cleanup is a separate limited trial, not an extension of this local green mask.
When the corrected selection is satisfactory, download PNG and reopen it to inspect the actual file. Manual PNG repair preserves decoded pixels outside the final mask, but selected content is inferred and can still look wrong. If the lettering and essential detail cannot be separated acceptably, use an unobstructed source rather than claiming the hidden detail was restored.