PRACTICAL IMAGE EDITING
Start Text Removal with the Original-Resolution Image
Before removing text, find the best available version of your own image. A thumbnail or compressed screenshot may already be missing detail. Exporting it as PNG can avoid another lossy encoding step, but it cannot restore pixels that were discarded before the image reached the editor.
Published 2026-10-15 · Updated
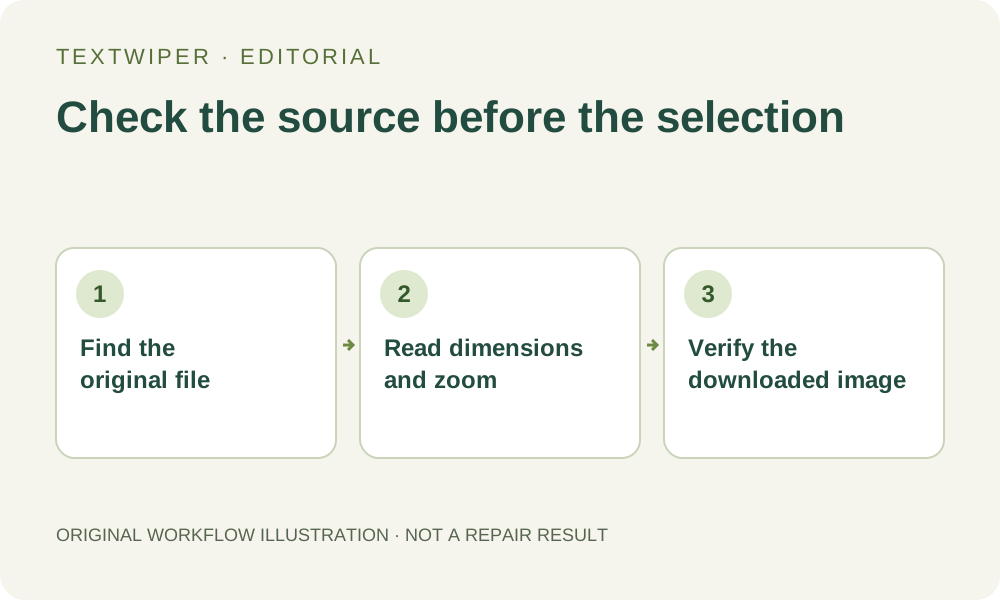
Find the file before you try to fix its text
Check your camera folder, the original design export or the image supplied by the person who created it. A picture copied from a message preview, a listing thumbnail or a screenshot is not necessarily the same file. Where you have access and permission, obtain the downloadable original rather than capturing the displayed preview with another screenshot.
Compare actual pixel dimensions and visible detail, not only file size or a filename containing HD. A larger file can include different compression or metadata, and an enlarged copy can contain more pixels without revealing more real detail. Keep the versions separate so you can return to the better source without relying on a previously compressed edit.
Separate missing detail from text that can be selected
Zoom into the area that matters before repair. If a small logo is already a blur, or lettering has become blocks from compression, removing an overlaid word will not reconstruct an authenticated logo or recover the original fine print. Repair estimates what to place inside the selected area; it does not retrieve an earlier version of the file.
A screenshot may also include browser controls, a colored frame, or a scaled page image. Cropping those away elsewhere does not reverse the scaling that already occurred. If the intended use needs a crisp product edge, readable specification or clean portrait detail, finding a better source can be more useful than changing repair modes.
Read the workspace dimensions and zoom as different measurements
After an image loads, TextWiper displays its decoded width and height in pixels below the editing area. The initial fit view may show a large image at a small percentage so it fits on the screen. That smaller on-screen view does not itself mean the image was resized for the manual edit.
The plus and minus controls change viewing scale, Fit returns to the fitted view, and Pan moves around a zoomed image. These controls help you inspect existing pixels. They do not increase the image's stored dimensions or add real detail. Image orientation can affect which decoded dimension is shown as width or height, so compare the displayed image as well as the numbers.
Use a source-first editing and download checklist
- Keep an untouched copy of the best source. Open that file in the text remover instead of reusing a thumbnail or an earlier compressed result.
- Read the pixel dimensions shown in the workspace. If they do not match the version you intended to edit, stop and locate the correct file before making a removal selection.
- Zoom in to inspect the text edge and nearby detail, then use Brush or an optional reviewed text detection. Recognition has a separate upload-permission step; it is not required to paint a mask.
- Repair the selected area and inspect the complete result. Use comparison deliberately when needed; a before-and-after split is not the default final preview.
- Download PNG when you want to avoid another JPG encoding step. If JPG is the required delivery format, check that export separately, especially around small text and fine edges.
- Open the downloaded file in an image viewer, check its pixel dimensions and examine the repaired area. Judge whether the available detail is sufficient for the place where you will actually use it.
Decide whether to continue, replace the source or stop
Continue when the source contains enough detail and the removal area can be checked confidently. Replace the source when a higher-quality original exists, the wrong preview was opened, or compression artifacts already cover the important details. Stop when the available file cannot support the intended use; exporting a larger-looking preview or saving as PNG does not make missing source information reliable.
Manual repair checks that its result has the loaded image's dimensions, and the PNG download uses that result. This describes the manual workflow, not an upscaling service. Optional whole-image automatic cleanup is a separate limited sign-in trial, uses a working-image upload with separate consent, and may alter details across the image. Do not choose it on the assumption that it guarantees original-detail recovery. Manual selection, repair and downloads remain free during the current beta.