PRACTICAL IMAGE EDITING
Select Diagonal or Curved Text with Short Brush Strokes
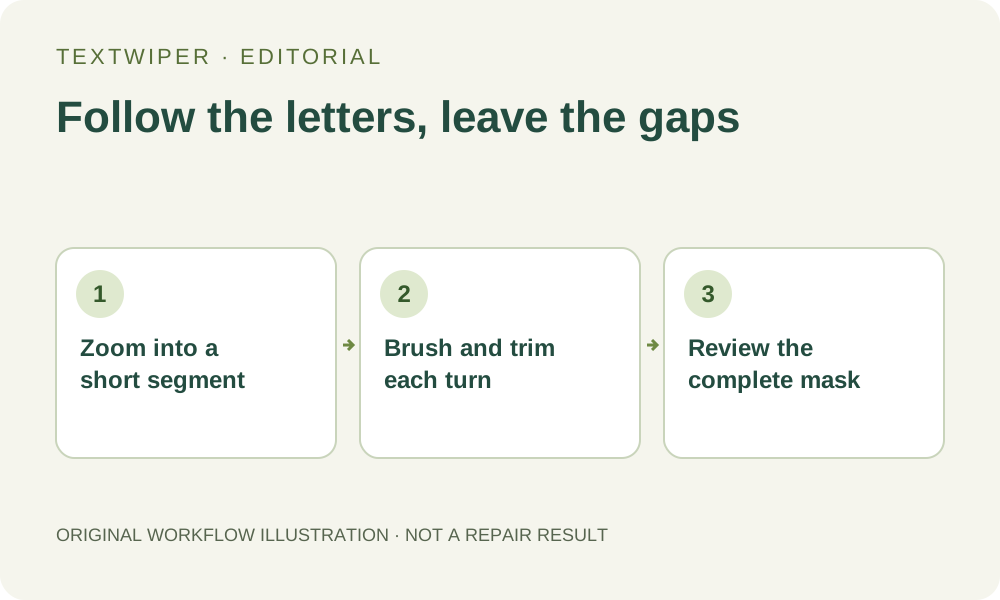
When unwanted lettering runs diagonally or follows a curve, a large rectangle may cover more background than necessary. In TextWiper, zoom in and follow the visible letters with short Brush strokes. Build a deliberate removal mask around the text instead of treating an entire diagonal band as disposable.
Published 2026-10-15 · Updated
1. Choose the visible path rather than the text's bounding box
This workflow is for a specific angled or curved inscription on an image you own or may edit. Recognition can miss rotated, decorative or low-contrast letters, and a detected phrase may enclose large empty corners. You can skip Find text and paint manually; using a brush does not require a recognized word or an upload for recognition.
Inspect the path before drawing. Identify where the lettering bends, where two strokes approach a subject edge and where there are genuine gaps between letters. Include the visible outline and shadow in your plan, but do not fill every empty space simply because it lies inside the overall slope of the word.
2. Set up zoom, brush size and movement separately
Use the zoom controls to make the letter boundary comfortable to follow. Reduce the Brush size for narrow strokes and tight turns. The size shown by the control describes the image-space brush; the same number may look larger on screen after zooming. Check a short stroke before tracing a long section.
Choose Pan to move around a zoomed image, then return to Brush before continuing the mask. On a desktop keyboard, B selects Brush, E selects Erase, P selects Protect and H selects Pan when the editor has focus outside a text field. On touch devices, use the visible tool buttons rather than relying on keyboard shortcuts.
3. Build the selection in short, connected decisions
- Open the image in the text remover and choose Brush. Start on a short, clearly visible part of the unwanted lettering.
- Draw along the local angle of the letters, lift the pointer at a bend, and start another short stroke rather than sweeping through the background to reach the next segment.
- For a curved line of text, follow several small sections of the curve. Adjust brush size when letter thickness changes instead of selecting one wide crescent.
- Switch to Erase to trim green mask from a gap or adjacent detail. Erase changes the removal selection; it is not a separate operation that erases image pixels directly.
- Use Protect where a nearby visible feature must remain, then check any overlap. Protection keeps input pixels, so it will also keep unwanted lettering if both occupy that protected area.
- Keep Show mask enabled and scan the whole word before repair. Use Undo for a misplaced selection stroke; a corrected mask still needs a repair to produce a new result.
4. Inspect endpoints, inside curves and crossing details
The beginning and end of a diagonal word often retain a tiny shadow or a decorative flourish outside the main letter strokes. On a curve, examine the inner edge and the narrow spaces between neighboring letters. These are useful places to refine the mask rather than expanding its width everywhere.
Where the text crosses a seam, a roofline or a patterned surface, inspect both the removal target and the feature being crossed. Unselected visible pixels can be retained, but the portion hidden under a letter still requires reconstruction. If an important edge changes direction or disappears, a smoother fill is not necessarily a better result.
5. Repair, view the whole result and check the export
Use Quick repair for a simple background, or inspect Smart repair on the same selection for texture. After repair, the full result is visible by default. Show comparison is optional; use Hide comparison to return to the complete image before judging whether the angled lettering is gone and the composition still works.
Changing or undoing a selection returns to the original and invalidates the old preview, so repair again after adjustments. Download PNG and reopen the file at original size, checking the full text path, its endpoints and the nearest details. A saved image is the deliverable; an attractive green selection alone does not establish a successful removal.
Know when a narrow brush still cannot separate the content
Stop if unwanted and retained strokes are interwoven, or if removing the lettering requires reconstructing an exact logo, face or technical pattern. A smaller brush improves selection control but cannot uncover the original pixels or make overlapping content independent. Use the layered source, a clean authorized image or another editor for reconstruction instead of repeatedly painting a wider diagonal stripe.