PRACTICAL IMAGE EDITING
Prepare an Event Poster for New Dates and a New Venue
Reusing your own event poster requires more than erasing last year’s date. A new venue, time, booking link or admission condition can contradict details elsewhere in the design. Use TextWiper only to prepare selected areas of a flattened image; verify the new facts separately and add the replacement lettering in a layout application.
Published 2026-10-17 · Updated
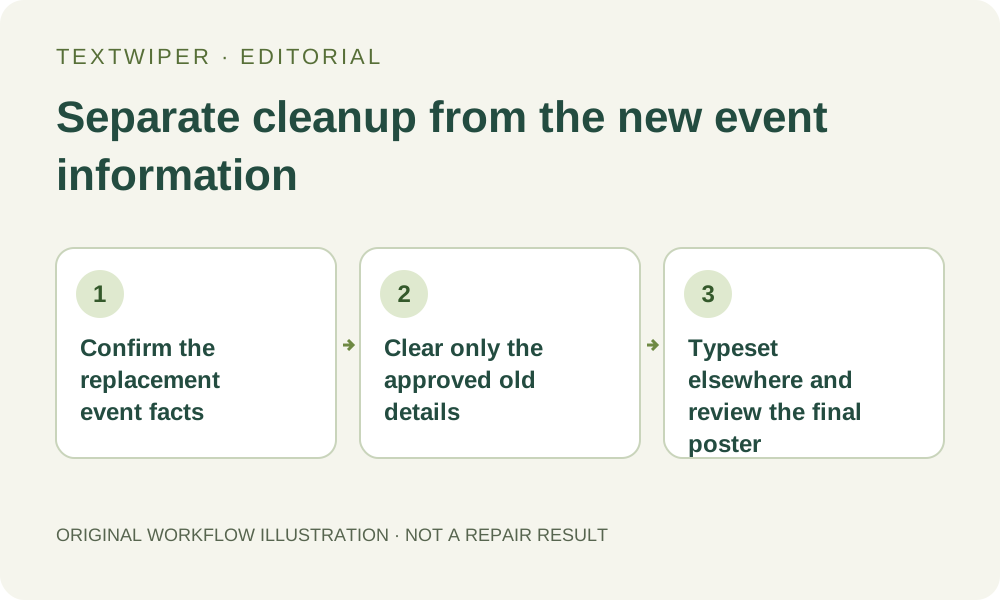
1. Start with the source design and an approved change list
If you have the editable poster, update its text objects in that application. This keeps the original background and layout available. Use image repair when only a JPG, PNG or still WebP remains and you are allowed to change it. TextWiper does not edit a poster PDF, recover layers or add replacement text.
Make a small change list before uploading: the old detail, its approved replacement and where it appears. Confirm the date, weekday, opening time, time zone if relevant, venue name, address and booking destination with the organizer. Mark unchanged information explicitly. A visually clean poster is not evidence that an event has been rescheduled correctly.
2. Find every place where the old information is repeated
Read the headline, the small footer, a date badge and the area beside the booking code. The same event date might appear in two formats, while a venue name may also be part of an address. Clearing only the large line can leave a conflicting instruction that readers notice after they have acted.
Separate obsolete details from information that must stay, such as the organizer name, a current sponsor or an accurate access note. A QR code may still point to the previous event even when its surrounding text looks current. Editing nearby pixels does not change a code’s destination; verify it outside TextWiper and replace it in the design tool when necessary.
3. Make deliberate selections for the approved removals
- Open the best available authorized poster image, not a small messaging preview. Check its dimensions and ensure the old details are readable before deciding where to repair.
- Use Brush for individual lettering or Area for a simple rectangular information panel. Include visible shadows and outlines, while leaving useful decoration outside the mask.
- Use Erase to trim accidental coverage and Protect near a retained sponsor mark, border or code. Protection preserves the input in its area, including unwanted old text if they overlap.
- Find text can help with readable wording after its separate upload permission. Select only approved targets and inspect their positions; recognition does not know which date or venue is correct.
- For repeated phrases, use your own removal and keep rules carefully. A short venue abbreviation might also occur in a sponsor name; check the actual mask rather than relying on the rule alone.
4. Repair a usable background rather than redesigning it
Try Quick repair for a small, even information panel. Smart repair can be considered when nearby texture matters, but both may leave a patch or invent detail. Keep decorative lines and meaningful artwork outside the selection. If the old date crosses an important illustration, returning to the design source may be more practical than reconstructing it.
After repair, inspect the complete result. Show comparison can help locate an old line; hide it to review the composition. If you adjust the mask or protection, repair again because that change returns to the original. Manual editing and downloads are free during beta; a separate automatic whole-image cleanup trial is unnecessary for a deliberately limited information change.
5. Add the new details in a separate layout application
Download PNG, reopen it and confirm its dimensions. Place that reviewed background in the application where you will typeset the replacement text. TextWiper does not choose a font, fit a longer address, translate the announcement or generate a new event date. Keep the approved change list beside the actual final design.
Check whether a longer venue needs different line breaks or more space. Do not cover a repaired seam by shrinking essential details until they are difficult to read. Keep the old poster, cleaned background and new announcement as distinct versions so an earlier export is not accidentally published as the update.
6. Review the whole announcement before distribution
Read the finished date together with its weekday, time and location rather than checking isolated words. Confirm the booking link or scan the final QR code with another device where possible. Check any remaining year, admission condition, deadline and small-print reference that could contradict the new details. Image cleanup cannot approve those facts for you.
Finally, inspect the exact file that will be posted and its preview on the receiving platform. Check small lettering at the intended display size and make sure an old cached image has not been reused. If the background repair damages a required illustration or the new facts are still unconfirmed, keep the poster as a draft instead of treating a successful download as publication readiness.