PRACTICAL IMAGE EDITING
Remove Text Touching the Image Border with Less Surrounding Context
Text clipped by the outside of a picture creates a different repair problem from text beside an object. There are no real image pixels beyond that canvas boundary to consult. For your own image, first distinguish an offscreen editing view from an actual file edge, then decide whether the available surroundings are enough for a useful repair.
Published 2026-10-17 · Updated
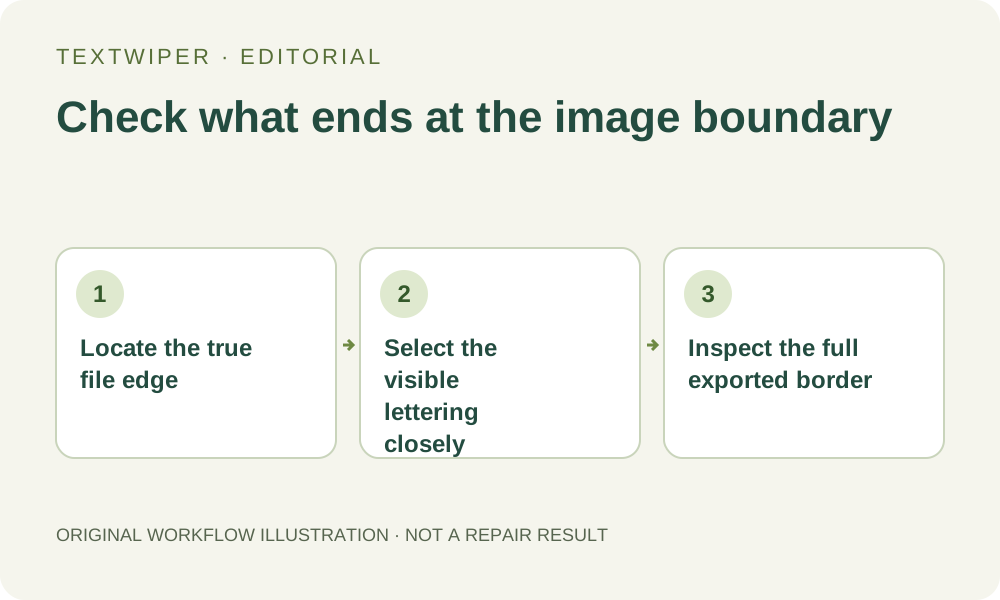
1. Find the real file boundary before drawing
Open the highest-quality authorized image you have and read its pixel dimensions. Use Fit to locate the entire frame. If the text only disappears beyond the current viewing window, use Pan to see it; that is a navigation issue, not missing source material. Do not paint a broad mask simply because the image is enlarged.
At a genuine file edge, a cut-off letter may have only half a stroke remaining. Keep the original separately so you can compare the clipped shape and the intended composition. TextWiper does not reveal the rest of that letter, extend the photograph or provide an outpainting canvas.
2. Read the context on the sides that remain
Look inward from the affected edge. A flat border strip provides different evidence from a horizon, a diagonal railing or a pattern running out of the frame. Check the direction in which color and structure approach the text. At a corner, two sides are missing; a plausible small patch is harder to judge when both reference directions end.
Keep useful nearby material outside the removal mask. Selecting a large rectangle across the entire margin removes the very color transitions and lines that could help you inspect continuity. An object edge inside a photograph may have background on both sides; the outer canvas edge has no additional photographed area beyond it.
3. Select only the visible lettering and its effects
- Zoom in after locating the true boundary. Use Pan to position the edge where you can draw comfortably, then switch to Brush.
- Use short strokes to cover the visible portion of each unwanted letter, including a visible shadow or outline. There is no need to invent a selection for portions outside the file.
- Use Erase to trim accidental coverage from a nearby frame line or clear background. Use Area only when its rectangle does not swallow a useful band beside the lettering.
- Protect a retained logo, visible border or fine line close to the target. If the protection overlaps the unwanted word, that input portion will also be retained.
- Inspect the actual green area before repair. If text recognition was used after upload permission, verify its positions manually: a detection is not proof that a clipped stroke has been fully selected.
4. Try a limited repair without assuming extra context
Try Quick repair for small lettering beside an even-colored margin. Smart repair can be tried when texture remains available nearby, but it cannot supply an authenticated continuation beyond the photograph. Both manual modes run in the browser; neither adds extra canvas. The output dimensions are not a promise of newly recovered detail.
Run repair, then view the full result. Show comparison helps you locate the old mark; hide it again to inspect the finished frame. A mask change invalidates the old preview and returns to the original for another repair. Retrying with a wider selection should have a specific reason, such as an overlooked shadow, rather than hoping that less remaining context will improve the estimate.
5. Follow the edge and anything that meets it
Inspect the whole affected side, including both ends of the repaired patch. Look for a dark rim, a repeated stripe, an abrupt gradient or a line that bends where the lettering used to be. At a corner, check both outer sides and the point where they meet. A repair can look quiet in the center while leaving an obvious colored tip against the edge.
Then inspect the image at its intended display size. A frame line that looks smooth close up can change thickness after downscaling. A horizon or object entering the boundary should meet it plausibly; filling the patch with similar colors is insufficient if the geometry changes. Review nearby meaningful lettering that was meant to stay.
6. Choose a usable source and deliver a checked copy
Download PNG when you need to avoid an additional whole-image JPEG encoding step. Reopen the actual file, confirm its dimensions and inspect the affected boundary without editor controls around it. PNG retains decoded pixels outside the manual mask, but the selected border region is still inferred. It does not recover a larger original photograph.
Stop if the mark covers a unique edge detail, the corner has too little usable context or the output repeatedly invents a border. Request an earlier unmarked export or return to the design source. A different crop may be considered in another application when appropriate, but this tool does not promise to restore content outside the file.