PRACTICAL IMAGE EDITING
Erase a Label Touching a Product Edge Without Losing the Outline
When a promotional label touches a bottle, box or other product outline, first check whether its letters actually cover the object. Protect can preserve visible pixels, but it cannot reveal an outline hidden underneath the label. Use the original design when that boundary must be exact.
Published 2026-10-15 · Updated
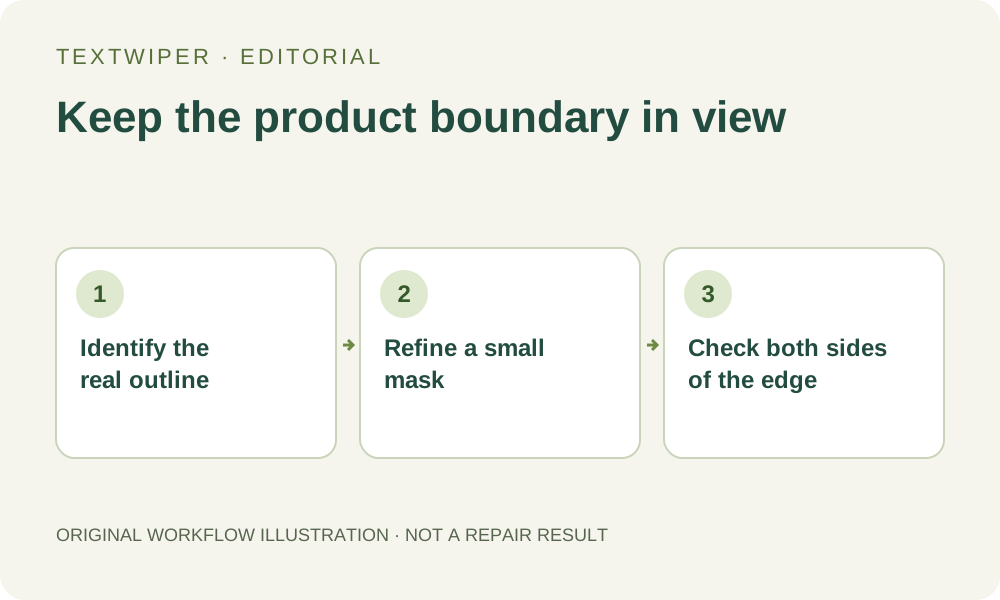
Separate a nearby label from a covered product boundary
Open a copy of your own product image and follow the outline with your eyes before making a selection. A letter beside a box edge is a different problem from a letter painted across that edge. In the first case, the shape may still be intact. In the second, part of the shape has been replaced or blended with the promotional text, so image repair must estimate missing content.
Look for fine details that establish the boundary: a bottle's narrow neck, a lid seam, a transparent rim, a package corner or a soft shadow. Do not treat all of these as disposable background. If you have the layered design, a photograph without the offer, or an earlier clean export, start there. Removing the text layer preserves information that reconstruction cannot verify.
Use protection and the removal mask for different jobs
The green removal mask identifies pixels to repair. Protect marks details to preserve, and Erase shrinks the removal mask; it does not erase the picture itself. Near a contour, Brush usually gives more control than a rectangle that spans both the product and its background.
Protect a visible seam or edge only where you intend to keep those original pixels. If a watermarked letter occupies the same pixels, protecting that spot will also preserve the overlapping mark. There is no selection that can simultaneously keep and remove the same covered pixel. Make that tradeoff explicitly rather than assuming a broader mask will restore the correct product geometry.
Work through one narrow edge area before widening the selection
Use this sequence in the text remover. Find text is optional; if you choose it, recognition requests upload permission first. Detected boxes still need manual review when letters are close to the outline.
- Open the original-size image, zoom in with the plus control, and use Pan to position the label and the entire nearby product edge together.
- Paint a small removal area around the unwanted lettering. Include its visible outline or shadow without automatically including the product contour.
- Use Erase to pull the green mask away from an intact edge. Add Protect over nearby visible branding, a seam, or a corner that must remain.
- Try Quick repair where the label sits on an even background. If the surrounding area has texture, inspect a Smart repair attempt on the same carefully reviewed mask.
- Inspect the full result. When you adjust the selection, the editor returns to the original for the next repair; keep the intended selections and review the new complete result instead of assuming separate repairs are being stacked.
- Download PNG, reopen it, and follow the outline past both ends of the repaired area. Check the exported image at its intended listing size as well.
Choose the next action by the kind of edge
An intact edge with lettering only on the background side is a reasonable small-mask task. A simple solid box edge needs a stricter check for a bend or a change in thickness. A transparent glass rim, repeating embossed pattern, tiny printed specification or detailed reflection may require information that the flattened image no longer contains.
For the more delicate cases, return to the source photograph or design instead of repeatedly expanding the removal area. A visually smooth patch is not proof that the product shape or label is accurate. In a product listing, preserving a real corner or specification can matter more than eliminating every trace of an obsolete offer.
Stop when the contour becomes less trustworthy
Reject a result if the package becomes narrower, a seam stops abruptly, the shadow disconnects, or the background color bleeds across the outline. Also stop if letters remain because the necessary pixels are protected and changing the protection would sacrifice a required detail. Keep the original and choose a clean source rather than publishing an invented product edge.
Manual selection, Quick repair, Smart repair and downloads are free during the current beta. Optional whole-image automatic cleanup is a separate limited trial requiring sign-in and available allowance; it is not a guaranteed next step when an edge repair fails. This article describes a selection strategy, not a newly tested product-photo result.