PRACTICAL IMAGE EDITING
Remove Text Near Pet Fur While Checking Coat Detail
For text beside a pet, start by tracing the fur boundary and identifying which hairs are still visible. Remove only the unwanted lettering, then judge the repair by coat direction, silhouette and distinctive markings. TextWiper can estimate a covered patch; it cannot recover the actual hairs hidden beneath a label. Keep the untouched photograph as your reference.
Published 2026-10-16 · Updated
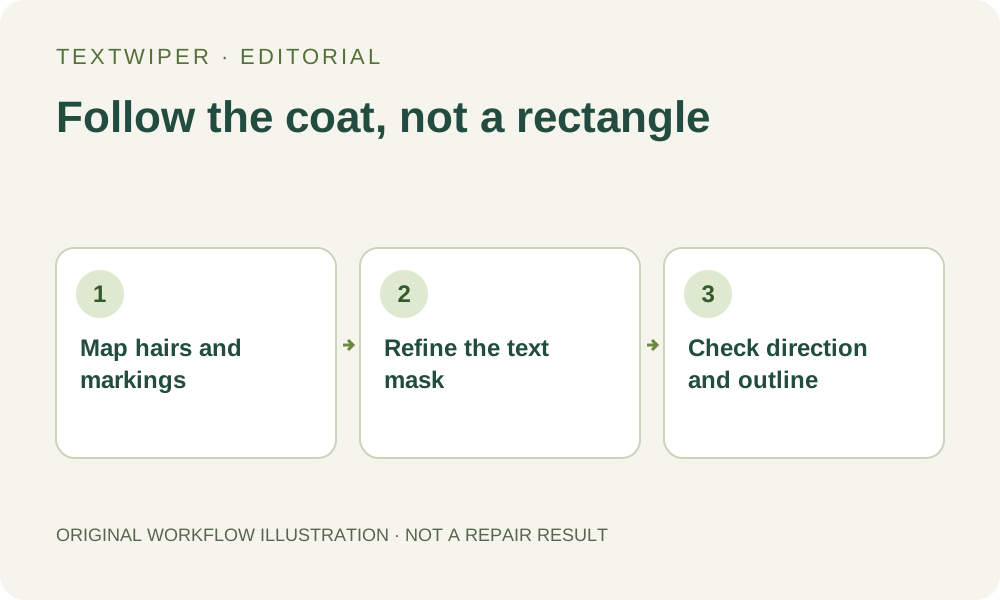
1. Read the coat in separate zones
A pet coat does not behave like one uniform texture. Short hairs around a muzzle, long ear fringes and a fluffy chest can point in different directions. Follow each visible group toward the text instead of assuming the same pattern continues across the whole animal. Note where a dark stripe ends, where the undercoat changes color, and where individual whiskers cross the background.
List distinctive features: an uneven ear tip, a white paw or a particular cheek marking. A natural-looking patch can still change these details. If lettering covers one, find an earlier unmarked photograph or the original design rather than treating reconstruction as a record of its appearance.
2. Separate background cleanup from missing fur
Decide whether the letters sit entirely on the wall or floor, cross a few projecting hairs, or cover a dense part of the coat. Background-only lettering may allow a selection that stays outside the animal. A word across the coat needs reconstruction inside that selection. A word across the silhouette also removes evidence of where the animal ends.
Protect can preserve visible whiskers, exposed ear edges and markings that do not need changing. It preserves current pixels; it cannot separate a letter and a hair occupying the same pixels. Protection across that overlap may keep the lettering too. An obscured whisker root or ear notch remains uncertain.
3. Make a small mask you can explain
Use a copy of your own photo and begin with one short word. Zoom in, switch to Pan when you need to reposition the view, then return to Brush. Follow the letters with short strokes rather than sweeping across a whole strip of fur. Include their visible outline or shadow while avoiding unrelated hairs beyond that boundary.
Green marks removal and blue marks protection. Use Erase to trim a stroke that extends too far, and check the selection before repairing. Find text is optional: it requires recognition upload permission, may miss decorative lettering, and does not select anything automatically. A hand-painted mask can handle a word without starting recognition.
- Open an authorized photo and keep a separate untouched copy.
- Map the visible coat direction and the pet features that must remain.
- Brush one text area; trim excess with Erase and protect visible details where appropriate.
- Inspect the mask, choose a repair mode, and run the repair explicitly.
4. Choose by the actual material under the word
Quick repair is worth trying when the selection covers a smooth wall, an even floor or another simple background beside the pet. Smart repair may be more useful for textured fur, but it can also smear strands or invent a repeating patch. Neither mode establishes what the covered coat originally looked like. Compare their usefulness on your image rather than treating one as a fur-preservation guarantee.
The editor shows the complete result after repair. Open Show comparison to consult the original. Changing a removal or protection mask returns to the original view and invalidates the output. Repair again for the revised selection; a brush adjustment does not update an old result or add a repair layer.
5. Inspect direction, gaps and markings
Enlarge the view until individual hair groups are distinguishable, then follow several groups through the repaired patch. Look for a sudden change in direction, a comb-like repeated band, unusually smooth fur or a dark seam around the old letter. Along the silhouette, check the small background gaps between strands. Filling those gaps into a solid mass can make a fluffy outline look like a cutout.
Then return to a wider view and compare the pet’s ear shape, coat patches and apparent body boundary. A small local improvement is not enough if the animal now looks different. These are inspection prompts, not measured results from a pet test in this article. Stop if the patch changes a distinctive marking or needs increasingly broad selections to hide earlier artifacts.
6. Keep only a result suitable for its use
Download PNG, reopen it and inspect the fur and outline. Keep the original. For an accurate record of the animal’s appearance, use an unmarked source when the relevant feature was covered. A reconstructed hair pattern should not become identification evidence.
Manual selection, Quick or Smart repair, and downloads are free during the current beta. Whole-image automatic cleanup is a separate limited trial requiring sign-in, a separate upload choice and available allowance. It may change details across the photo, so it is not a substitute for checking the pet. You can stay with the manual workflow when the trial is unavailable.