PRACTICAL IMAGE EDITING
Remove a Sticker from Your Own Photo Without Mistaking a Guess for the Original
For a flattened sticker or emoji, use Brush or Area to mark the graphic itself; text recognition is not required. First look for the unmarked photograph or the original design with its sticker layer. If only an opaque edited copy remains, repair can estimate the covered area, but it cannot uncover the original scene from pixels that no longer contain it.
Published 2026-10-16 · Updated
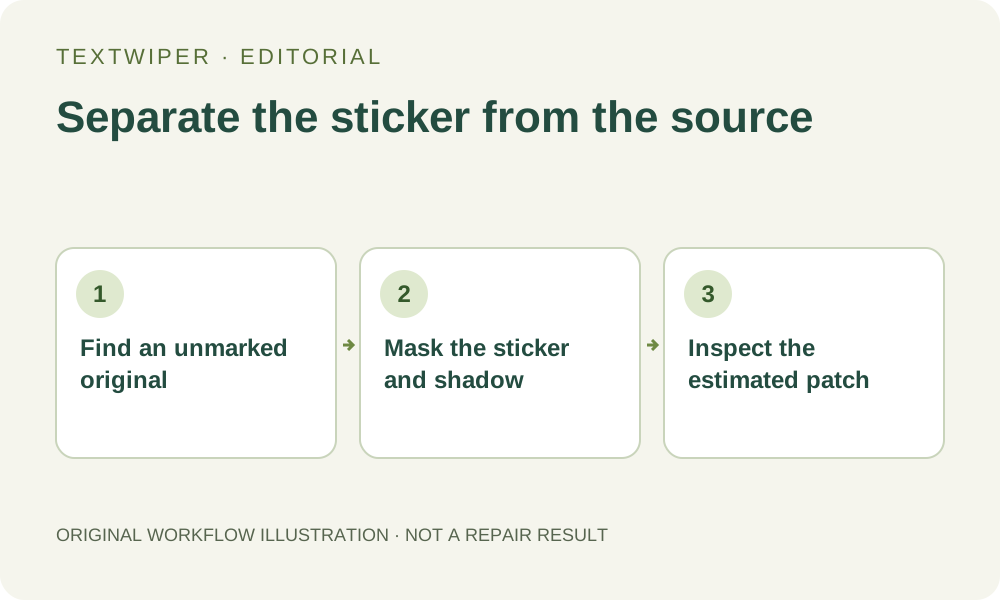
1. Look for the layer before repairing the flattened file
Check your camera original, an earlier export or the editing project that added the sticker. If the graphic remains a separate layer, hide or remove that layer in the original design tool and export again. TextWiper works with the image you open; it does not reopen a flattened JPG as the layered project that created it.
This matters most over a face, a hand or a unique product label. An opaque emoji replaces those details in the flattened image. A plausible eye or finger inside a repaired patch remains an estimate. Keep the marked copy too if it records how the photograph was originally shared.
2. Map the whole graphic, including its outer effects
Before selecting anything, examine the sticker outline, border, glow and drop shadow. The visible colored shape may occupy less space than its soft gray shadow. A mask that stops at the bright edge can leave a recognizable sticker-shaped halo. At the same time, a large rectangle can unnecessarily include nearby hair, a table edge or part of a sleeve.
Distinguish a small sticker on an even wall from a large emoji crossing a face and patterned shirt. The latter needs several unrelated reconstructions, not one background fill. Decide what would make the result unusable before starting, especially when the hidden detail is the main subject.
3. Select the graphic without relying on recognition
Open an authorized image in the watermark editor and use Brush for a rounded or irregular sticker. Area can mark a rectangular graphic, but review its corners rather than assuming the rectangle fits. Use Erase to trim excess removal around visible objects. Protect can retain a nearby edge that is already visible; it cannot reveal the portion underneath the sticker.
Find text may detect lettering on a sticker while missing the graphic around it. It is not a sticker detector and requires recognition upload permission. You can skip it: Brush and Area remain available even with an empty text list. No detected words does not mean no selectable graphic.
- Open your own photo or one you are authorized to edit.
- Trace the complete sticker shape, including a visible border or shadow.
- Trim the green removal area and protect separate visible details if needed.
- Run the chosen manual repair, then inspect the complete output before downloading.
4. Test the background rather than expecting hidden content back
Try Quick repair for a small selection on a fairly even surface. Smart repair may help when the surrounding image contains texture, but it can introduce a different pattern or object. A large missing region is not made trustworthy simply by choosing a more complex repair mode. Check the patch against the structure that is actually visible around its edges.
A completed repair appears as the full result. Show comparison is an optional way to consult the marked input. Changing the selection returns the view to the original and invalidates that output, so repair again for each revision. Several small trials can help you choose a mask, but do not assume they are saved repair layers that gradually reveal the original beneath the sticker.
5. Check connections and meaning, not only smoothness
Inspect the downloaded PNG at 100% zoom. Follow any table line, clothing seam, fence rail or background pattern that enters the patch. Does it leave at a sensible position and direction? Look for repeated texture, a shadow with no source, a floating outline or a remaining ring where the sticker used to be. Then inspect the full composition at its intended display size.
Stop if the patch invents a body part, changes an important object, or makes the photo suggest something the original does not establish. Removing a sticker is unsuitable when the aim requires knowing an obscured face or reading a hidden label accurately. This article supplies a workflow and stopping points; it does not claim a successful test on a particular sticker photograph.
6. Keep the source and choose a limited next step
Save the untouched source alongside any edited copy, and describe a reconstructed patch honestly when that distinction matters. If the missing content is important, return to the original file or make a new photograph. More repair attempts cannot verify content absent from the flattened image, even if one version looks cleaner than the others.
Manual selection, Quick or Smart repair, and downloads are free during beta. Whole-image automatic cleanup is a separate limited sign-in trial with separate upload permission and available allowance. It may change the broader scene and cannot recover the hidden original. Manual selection gives you a smaller area to inspect.