PRACTICAL IMAGE EDITING
Remove Outlined Text Together with Its Drop Shadow
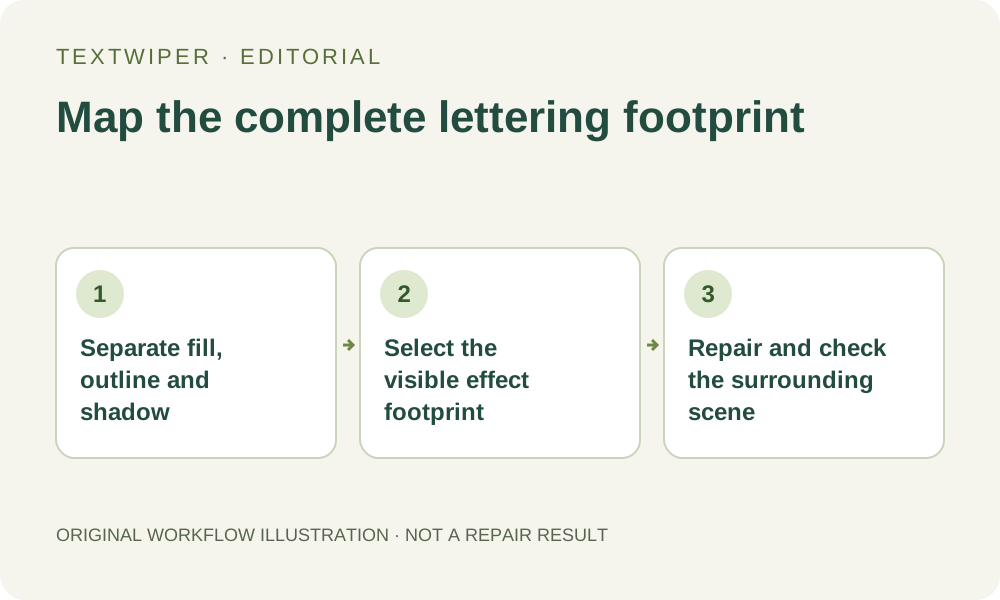
Outlined lettering can occupy much more space than its readable center. Before repairing your own flattened artwork, identify the letter fill, outer stroke and offset shadow as one removal target. Select that complete footprint deliberately; a text-recognition box or a rectangle around the bright letters may leave part of the design behind.
Published 2026-10-16 · Updated
1. Decide which shadow belongs to the lettering
Start with an image you own or are allowed to edit. If the layered design still exists, remove the text and its effects in that application. This workflow is for a flattened JPG, PNG or still WebP, where the visible outline and shadow have become ordinary image pixels. TextWiper does not recover the original text layer or identify its effect settings.
Look for a consistent offset repeated across several letters. A dark shape extending down and right from each character may be a designed drop shadow; a shadow following the edge of a photographed bottle is part of the scene. Mark the difference before touching the mask. Similar color alone is not a reason to erase both.
2. Trace the outer footprint before painting the interior
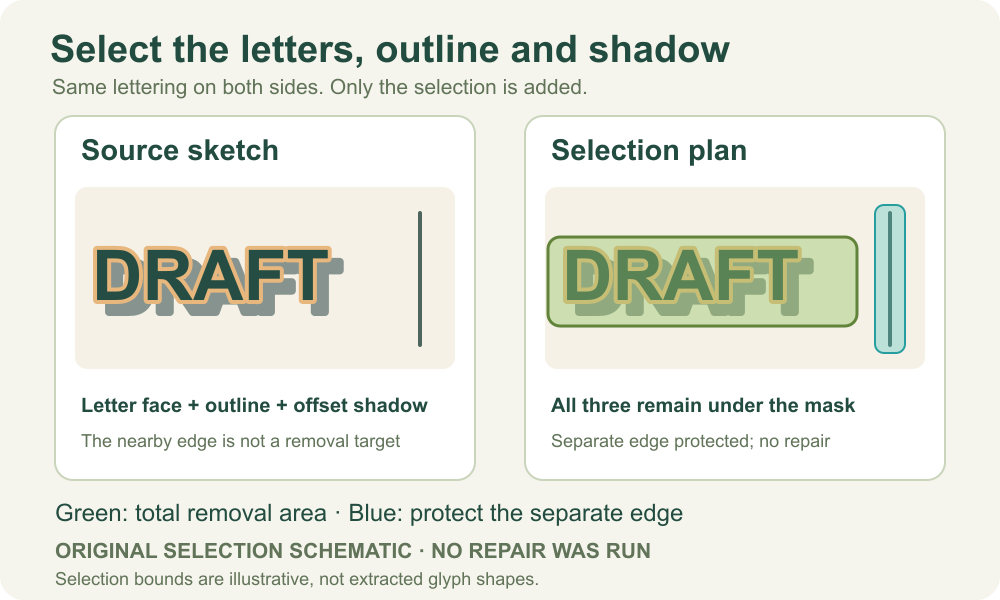
Zoom in and inspect a straight edge, a corner and a gap between letters. Count the visible components: colored fill, contrasting outline, thin edge pixels, then any soft or detached shadow. The furthest visible component defines the removal boundary. Include a visible glow if it belongs to the same lettering, while keeping the selection close to its actual extent.
Treat separated shadow islands as separate shapes when that preserves useful background between them. Avoid enclosing the whole phrase in one wide rectangle merely because its shadow is offset. A small background gap can contain a seam, a product edge or a deliberate highlight that the repair should not have to invent.
3. Build and review the complete selection
- Open your working copy in TextWiper. Choose Brush and set a size that can follow the outside of the outline without sweeping over neighboring details.
- Cover the letter fill and outline, then follow the offset shadow. Use short strokes around corners and isolated shadow ends rather than widening every stroke.
- Check holes inside letters and narrow spaces between characters. Select only the parts occupied by the lettering effects; keep genuinely clear background where practical.
- Use Erase to remove accidental mask coverage. Add Protect over nearby scene detail that must stay, checking that protection does not also preserve unwanted lettering.
- If you choose Find text, first read and approve the recognition upload permission. Treat detected positions as a starting point and inspect the outline and shadow manually.
- Inspect the green removal area with the image enlarged, then zoom out to see whether the combined selection crosses an unrelated object or its real shadow.
4. Repair the selected footprint, then inspect the whole result
Try Quick repair when the complete footprint sits on a simple background. Consider Smart repair for a textured region and compare the same checked selection. Neither option guarantees a clean edge. Manual selection, repair and download remain free during the beta; whole-image automatic cleanup is a separate limited trial with its own sign-in, availability and upload permission.
After repair, the editor shows the complete result. Open Show comparison when you need to locate a change, then Hide comparison to review the finished composition. Changing the removal mask returns the preview to the original; run the repair again before judging that new selection.
5. Check the shadow direction and letter gaps
Inspect the former shadow side of each letter, not only the place where its bright fill was visible. Look at the last shadow tip, the outside of rounded letters and the spaces where neighboring shadows overlapped. A leftover dark wedge can still suggest the old word even when its center has disappeared.
Also inspect the real scene shadows you intended to preserve. Their direction and boundaries should remain plausible beside the repaired patch. A smooth replacement that cuts through a product shadow is a failed edit. This preparation task differs from diagnosing a halo afterward: the aim is to map all visible lettering effects before the first repair.
6. Stop when the effects cannot be separated safely
Stop if a soft text shadow merges with a face, fine fabric or a physical shadow and you cannot determine a defensible boundary. Protect can retain visible input pixels, including unwanted effects inside its area; it cannot uncover the authentic detail beneath them. An editable design, an authorized unmarked source or a different crop may be more suitable.
Keep the original separately and export the reviewed copy. Reopen the download at its intended display size, then inspect the old outline and shadow locations once more. The repair estimates covered content; a visually quiet patch does not prove that the hidden original pixels were recovered.