PRACTICAL IMAGE EDITING
Remove a Handwritten Note From a Family Photo Border
For a handwritten note at the edge of your own family photograph, keep an untouched scan and transcribe the note before editing a separate presentation copy. Select only the ink you intend to clear, not the entire paper border. Handwriting may not be detected, and a smooth repair cannot recover the real paper hidden beneath it.
Published 2026-10-16 · Updated
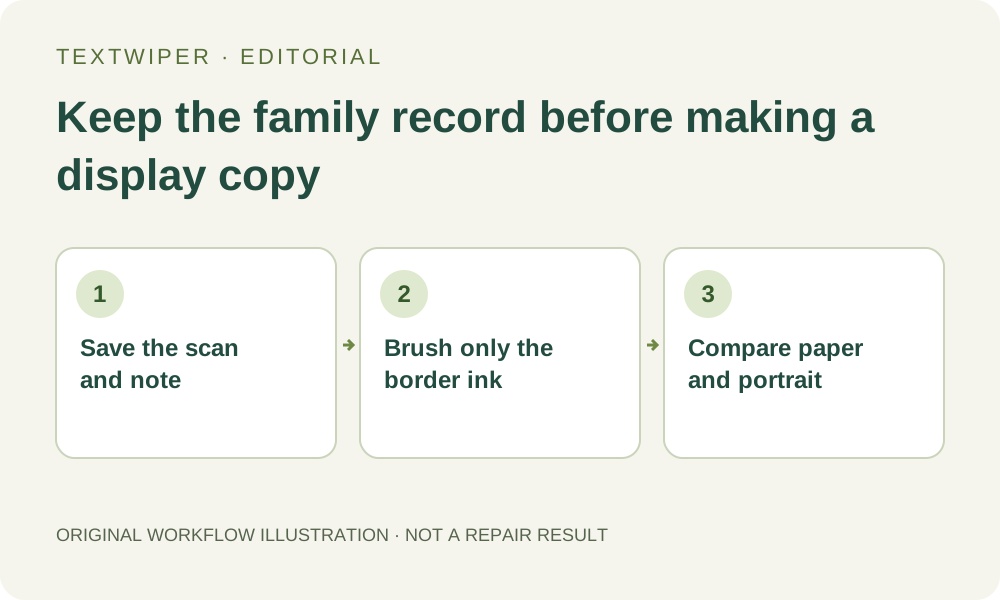
1. Preserve the note before clearing it from a copy
Scan or photograph the whole print, including its edges, before making changes. If writing appears on the back, record that separately too. Save the untouched files in your family archive. A later presentation copy should not replace the only readable record of a name, dedication or place written on the object.
Transcribe what you can actually read into a separate note and mark uncertainty rather than inventing an interpretation. Record who supplied any identification and what remains unknown. TextWiper is an image editor, not a handwriting historian; it cannot establish a date, identify a sitter or verify an inscription from a repaired surface.
2. Separate ink strokes from the physical border
Open a full-size JPG, PNG or still WebP copy. Zoom in and identify the writing, paper grain, folds, curled edges, faded emulsion and nearby portrait detail. A dark stroke could be ink, a crease or a strand of hair near the image boundary. Do not choose a large rectangle until you can distinguish them.
Decide which physical features should remain in the display version. A border that has darkened unevenly need not become uniformly white. Removing a note is a different task from redesigning the paper edge, correcting color or removing age marks, and those changes should not happen accidentally through an oversized selection.
3. Paint the note in small, reviewable sections
- Choose Brush and start with an isolated letter well inside the paper border. Keep the brush narrow enough to follow the ink without also covering the outside edge.
- Select visible ink, including faded stroke ends, in several short movements. Leave paper gaps between separate letters unselected where practical rather than drawing one broad band.
- Use Erase to trim the mask near a fold or edge. Protect nearby portrait details, but remember that overlapping protection also keeps any unwanted ink within that same region.
- Recognition is optional and handwriting may be missed. If you try Find text, first review its upload-permission prompt; an empty or incorrect result is a reason to select manually, not to keep rescanning automatically.
- Try Quick repair on a smooth border. Inspect Smart repair cautiously on grainy paper, especially beside a crease, because a natural-looking patch may still invent texture.
- Changing the mask returns the editor to the original. Repair the revised selection again and review it before extending the work to another part of the note.
4. Inspect continuity rather than aiming for new paper
The full repaired result is displayed by default. Look for a bright strip, repeated grain, soft rectangle or a fold that abruptly ends at the repair boundary. Select Show comparison to trace the original border and nearby portrait, then Hide comparison to judge the whole presentation copy without the split view.
Check the paper both close up and at the size you plan to display it. A patch that hides tiny ink traces when enlarged may look conspicuously flat in a small family album print. Do not keep widening the selection merely to make the border match a modern white frame. Preserve the intended historical appearance of the copy.
5. Keep the display export separate from the archive
Download PNG and reopen the actual saved file, checking its dimensions and the full outer edge. Keep the untouched scan, note transcription and display version under clearly different names. Mark the latter as an edited presentation copy wherever confusion is possible; it should not become evidence of what the original print looked like.
Manual selection, repair and downloads are free during the current beta. The separate limited automatic cleanup trial can change the whole photograph, so it is not required for this narrow border task. This workflow does not offer archival authentication, physical print restoration, editable text replacement or proof that missing paper texture has been recovered.
6. Stop if the note enters important image detail
Stop when a stroke crosses a face, a distinctive garment, a studio stamp or a signature whose meaning you need to preserve. Protection cannot expose the original scene underneath the ink. If removing the note requires guessing an eye contour, a handwritten date or a historically important mark, keep that overlap visible.
You can retain the original annotated scan and make a separate layout that displays it with the transcription, using another application. Ask a suitable specialist about the physical print when needed. An honest display copy with a retained inscription is preferable to an apparently pristine image that silently changes family evidence.