PRACTICAL IMAGE EDITING
Regenerate Deep Zoom Tiles from a Reviewed Image Instead of Replacing One Visible Tile
A zoomable picture is often delivered as many tiles at several resolution levels, not one image file. Replacing a tile that happens to show an unwanted label can leave the label in other levels or create inconsistent boundaries. When you own or may edit the source, begin with a suitable full-image master, approve the cleanup there, then rebuild the corresponding zoom package in its original external workflow. TextWiper neither stitches tiles nor creates Deep Zoom packages.
Published 2026-11-02 · Updated
1. Find the actual master before selecting any pixels
Identify the full source image and the software or publishing process that produced the viewer’s tiles. A visible tile downloaded from the viewer is only a part of one resolution level. It is not a substitute for the full-image master, and repeated copies of the lettering at different levels are not independent originals that should each be repaired by eye.
Retain the untouched authorized master and the old published package for reference. If the task is only to remove viewer controls or live HTML labels, confirm that those are not already separate overlays. Changing raster pixels will not remove a label drawn by the surrounding viewer interface. Establish what is embedded in the image before choosing an editing route.
2. Respect the editor limits without shrinking the production promise
The manual editor accepts supported JPG, PNG and still WebP inputs within 10 MB, 4096 pixels per side and sixteen million pixels per image. A zoom project’s master can exceed those limits. In that case, do not describe a smaller preview edited here as an original-resolution replacement for the larger master; use a suitable external production workflow for the required source.
This workflow applies when the intended full-image working master actually fits and the browser result is adequate for the destination. TextWiper does not merge old tiles, preserve a specialist image package or provide a way to bypass its limits by pretending that separate crops form one saved project. Keep the original source even when a smaller derivative is acceptable.
3. Approve a complete edited image before tiling
For a supported authorized master, select only the intended embedded lettering with Brush or Area, trimming excess and protecting visible detail. Use recognition only when needed and after its upload choice; recognition positions are not tile coordinates. Manual repair uses the image loaded into the editor, not a remote viewer’s grid or its descriptor.
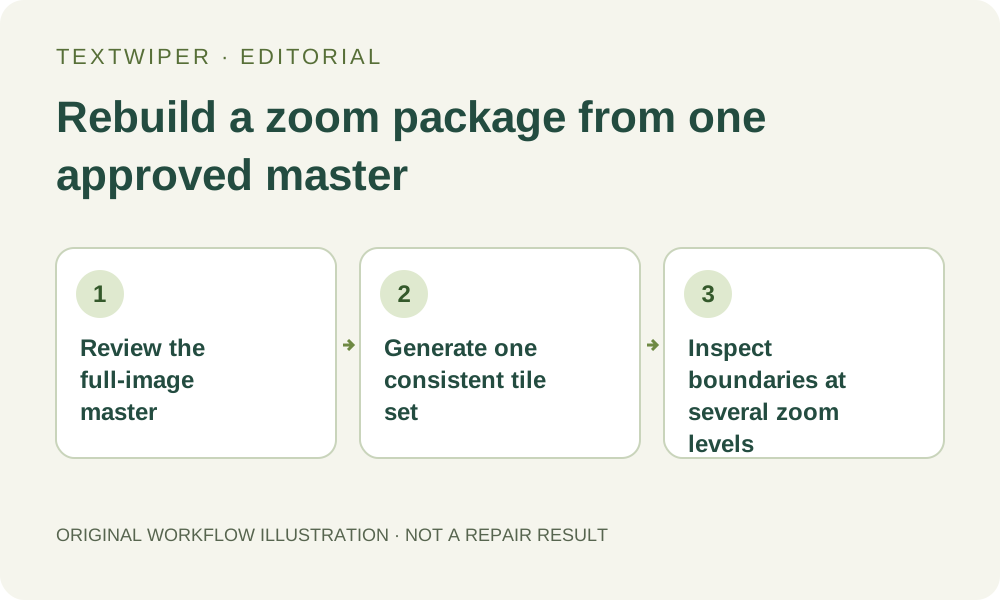
Inspect the entire repaired candidate, including the changed area at a close view and important context at a useful scale. Download a reviewed PNG or JPG and reopen it to confirm the version and dimensions. The diagram here is an original workflow illustration; it does not show a measured tile-generation or repair result.
4. Rebuild the descriptor and tiles as one consistent package
Use the original external tiling tool or another documented compatible production process to generate the required levels from the reviewed master. In the DZI model, the image descriptor supplies properties such as dimensions, tile size, overlap and tile format, and the viewer requests matching tile files. The descriptor is not an image that TextWiper can repair or regenerate.
Keep the descriptor, tile directory and the viewer’s resource reference associated with the same build. Renaming or replacing one image file does not prove those parts agree. Do not invent new overlap values, change tile formats or hand-edit numeric metadata merely to hide a seam; follow the intended generator and viewer configuration, and retain a rollback package.
5. Inspect spatial boundaries and resolution changes in the real viewer
Load the new package through the intended viewer and navigate across the former lettering area. Check tiles on both sides of each relevant boundary, as well as the view when zooming into and out of that region. An overview can look clean while a more detailed level still contains an older tile; a single close-up can likewise miss a lower-level inconsistency.
Also examine retained lines, edge continuity and surrounding detail at the sizes where the image will be used. A visible seam may belong to the edited master, mixed build files, tile generation or delivery of an old resource. Locate that stage before painting more pixels. These checks do not certify every level or prove recovery of details hidden under the original text.
6. Publish the approved set and record its version
Publish the matching package and page reference through the site’s normal controlled process, using its supported versioning or cache update path. Verify the actual public viewer rather than only a local generator preview. If one level remains old, identify its resource and build version before rerunning image repair or replacing unrelated tiles.
Keep the accepted full-image file and a note of the package and views checked. Manual selection, repair and image download are the TextWiper stage; tile generation, viewer configuration and publishing belong to external tools. A successful local image download does not prove that the whole zoom package has been rebuilt, deployed or indexed.
Sources
- DZI tile source — Shows the descriptor and the association between a Deep Zoom image and its tile directory. TextWiper does not generate these assets.
- Creating zooming images — Lists external approaches for creating zoomable image sets; availability is not a benchmark or an endorsement of a particular tool.