PRACTICAL IMAGE EDITING
Clean Review Markup from Your Own Software Screenshot
For your own software presentation, first look for an annotation-free capture or turn off the review layer in the source tool. If only a flattened screenshot remains, select the added arrows, circles or comments manually and check every crossing with the interface. Keep genuine icons, labels and status indicators. This workflow prepares an illustration; it does not create a trustworthy audit record or a privacy-safe redaction.
Published 2026-10-16 · Updated
1. Establish what belongs to the capture
List the elements added for review: a colored circle around a button, an arrow pointing at a panel, a handwritten line or a comment box. Then identify the application’s own arrows, badges, focus outlines and status text. A red line is not automatically an annotation; it might be a validation indicator that belongs to the software.
Prefer an unannotated source or a fresh capture of the intended screen state. Removing a separate review layer avoids reconstructing covered pixels. Keep the marked screenshot and explain the cleaned copy’s purpose. Never remove a warning to imply the application passed a check that it did not pass.
2. Review crossings before choosing a large area
Follow each drawn line until it ends. A circle may cross a toolbar, a letter and a divider even though most of it lies on a blank panel. Treat those crossings as individual inspection points. Notice where the stroke becomes thicker, where an arrowhead overlaps an icon, and whether a translucent highlight has changed the color of several controls.
Protect can preserve an exposed label or boundary beside the review mark. Where the annotation and the interface share the same pixels, protection also preserves the annotation at that location. It cannot reveal the hidden icon or reconstruct the original button label accurately. If a meaningful state indicator is covered, use a fresh capture instead of accepting a guessed replacement.
3. Select only the review material
Open an authorized screenshot in the text remover. Zoom in and use Pan to move between crossings without drawing. Brush can follow curved circles or diagonal arrows; Area can select a rectangular comment box. Use Erase to reduce a selection that includes a neighboring menu item. Inspect the green removal mask and any blue protected regions before running repair.
You can skip Find text for arrows and hand-drawn lines. If you do request recognition, it asks for upload permission first and may return the application’s genuine labels along with a comment. Nothing starts selected. Choose only the annotation you intend to remove; selecting all detected text would defeat the purpose of keeping the software interface legible.
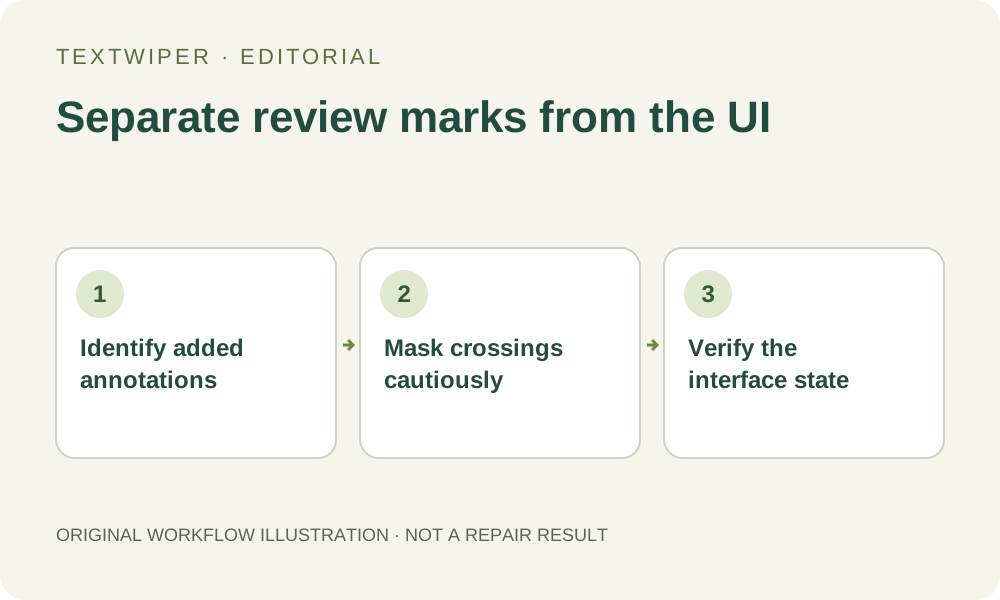
- Identify added marks and record the genuine UI state you must retain.
- Choose Brush or Area and make a small removal selection.
- Trim excess and inspect each crossing with a label, icon or border.
- Run repair explicitly, then review the full screenshot and the exported file.
4. Repair plain panels without inventing controls
Try Quick repair for a thin mark over a flat panel. Smart repair may help with texture, but neither mode knows the application’s control hierarchy. A smooth fill that rounds a square button or joins separate table borders is still a failed result. Judge structure, not smoothness alone.
After repair, the editor shows the complete result. Open Show comparison when you want to check the marked input. If you change the mask or protection, the previous output is invalidated and the original view returns. Run repair again for that version. Undo and Redo revise selections; they do not reopen a history of completed screenshots or restore the software’s live state.
5. Check text, geometry and state separately
Enlarge the view until nearby letter strokes and borders are clear, then read every interface label adjacent to the patch. Look for broken letter strokes, uneven font weight and spacing that has merged with the fill. Follow horizontal and vertical separators through each crossing. Check the corners of buttons, the direction of real chevrons, selected tabs and the visible bounds of input fields.
Compare error badges, disabled controls, check marks and unsaved-change indicators with the input. A disposable review arrow can sit beside an essential status dot. Reopen the downloaded PNG and check at presentation size too; a reduced display can hide defects in the exported file.
6. Stop where accuracy or privacy requires a different workflow
Stop if repair invents a new control, changes a warning, removes part of a label or makes a hidden state appear certain. Re-capture the screen or use the original annotation layers. For bug reports, compliance evidence or change records, keep the unaltered capture and describe any presentation edits; a cleaner illustration must not be passed off as an untouched record.
Repair is not irreversible privacy redaction. Use an appropriate separate process for sensitive information, preferably starting with non-sensitive demo data. Current-beta manual selection, Quick or Smart repair and downloads are free. Whole-image automatic cleanup is a separate limited sign-in trial requiring separate upload permission; it may alter other UI details.