PRACTICAL IMAGE EDITING
Remove Only the Text, or Clean the Whole Image? Choose Before You Start
Decide what must remain before choosing a cleanup button. For a few words beside useful graphics, use a deliberate manual selection. Whole-image automatic cleanup is a different, limited trial that can affect text, graphic marks and image details throughout the picture.
Published 2026-10-15 · Updated
Define the difference with one practical question
Do you want the decorative line to stay? Consider your own flattened poster with an outdated SALE word, a ribbon graphic and a current product name. If only SALE is obsolete, the ribbon and product name are part of the desired image. Selecting the word and repairing its small area is a clearer starting point than asking for overlays across the whole image to be removed.
A repeated unwanted overlay is a different task. It may combine letters, diagonal dashes, horizontal bars or small symbols across a photo. Finding text can help locate the letters, but it is not a complete detector for every graphic mark. Whole-image automatic cleanup considers text and graphic overlays together; it should not be treated as a text-only switch that automatically knows which artwork you intend to keep.
Choose a manual selection when the removal boundary matters
The green manual removal area defines where repair is requested. Select detected words or characters, or draw a small area yourself. A useful border, icon or original label outside that area should stay outside it. Blue Protect marks exclude details from manual repair. Manual PNG repair keeps the original decoded pixels outside its mask; a JPG download re-encodes the image and flattens transparency to white.
Find text is optional. It asks permission to send a resized working image for recognition; the subsequent manual repair and download run in your browser. For one obvious word, Brush or Area avoids recognition entirely. An unrecognized letter can be added manually, and a graphic mark can be brushed separately if you explicitly want it removed.
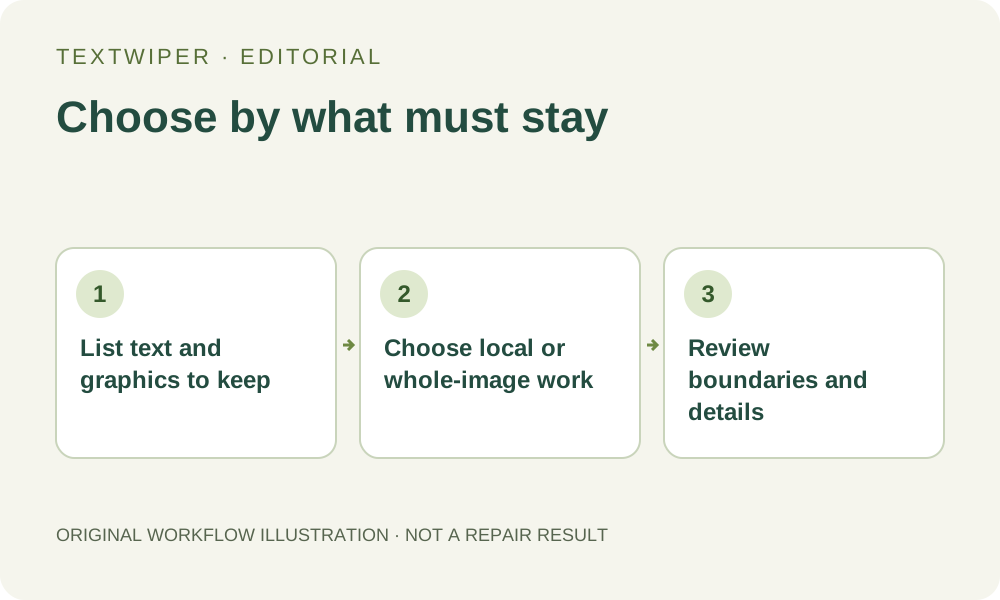
- Write two short lists: remove, and keep. Include useful graphic marks in the keep list rather than listing only words.
- Open the text editor and use Brush or Area, or approve Find text and choose only the needed detected regions.
- Inspect the green mask around the full target. Use Erase to trim a boundary and Protect where important content is nearby.
- Run manual repair, check the whole result and the adjoining graphics, and download a reviewed copy.
Consider automatic cleanup for overlays spread across the image
Open the watermark-removal page to check the current automatic trial status. The automatic workflow is for a single image and requires sign-in. Signing in is not upload permission: the editor separately asks whether to send the current working image for automatic cleanup. The whole working image is sent, rather than just the green text selection.
Automatic cleanup may change faces, texture, original writing and other details outside an unwanted mark. Blue protection restores covered pixels from your original in the browser, but it can also preserve an unwanted overlay crossing those pixels. That is a tradeoff to inspect, not a promise that face detail can be protected while a watermark on the same pixels disappears. Do not choose this route when exact surrounding artwork is an essential requirement.
Read the upload choice and allowance before continuing
Automatic cleanup is a limited trial, not an unlimited free service. Availability depends on trial allowance, account and usage limits, supported input and current service status. An accepted attempt uses allowance even if processing fails or you stop waiting. Checking the same image resumes its existing attempt instead of automatically generating another version. No paid plan or subscription is created by this trial.
The upload notice explains that TextWiper does not save the input image and privately retains the result for up to one hour for download; service providers handle data under their own policies. Read this separately from recognition permission. If you do not agree to whole-image processing, cancel that choice and continue with manual editing. A finished automatic result should be downloaded promptly after inspection rather than treated as permanent cloud storage.
Use different acceptance checks for the two routes
For the poster’s text-only edit, check that SALE is gone while the ribbon, product name and nearby border remain. If the green selection touches a desired graphic, correct it before repairing again. If text sits directly on an essential detail that cannot be reconstructed reliably, return to the layered source or obtain another authorized source image.
For whole-image cleanup, inspect all kinds of unwanted overlay across the entire frame, then read the original useful text and compare faces, edges and texture. Stop if a required graphic disappears, lettering changes, or new artifacts make the result unsuitable. A clear-looking sample does not prove the same outcome on another image. When the automatic trial is unavailable or its result is unsuitable, manual selection, repair and downloads remain free during beta; they do not require an automatic attempt.