PRACTICAL IMAGE EDITING
Remove Text over Water and Inspect the Reflections
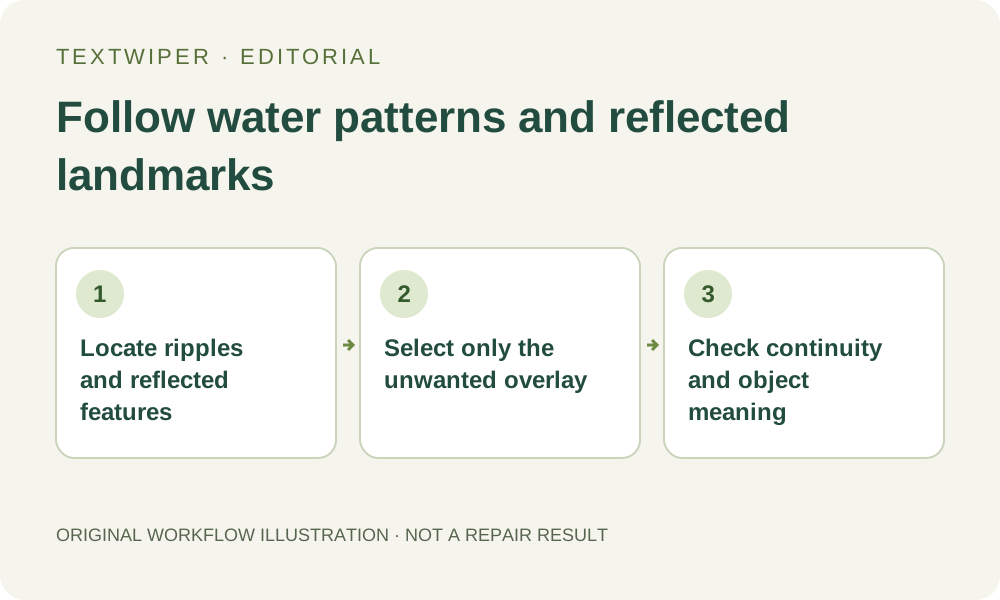
Before removing text over water, identify which nearby shapes are ripples, light and reflections of real objects. Make a limited selection, repair it and inspect how those shapes continue across the patch. A plausible water texture does not establish what was actually reflected beneath the lettering, so keep the original and judge the intended use carefully.
Published 2026-10-16 · Updated
1. Identify the unwanted overlay and the real scene
Use a photograph you own or are authorized to edit. A caption or date added to the image is different from lettering on a boat, a floating sign or a reflection of text that exists in the scene. Decide which visible content should change before making a selection. Keep an untouched copy, especially when the photograph describes a place or an event.
Look around the word for reflected buildings, trees, people or lights. Find a visible part of the corresponding object when the composition includes it. If no such reference is visible, do not guess the identity of a dark stripe or a bright shape merely because the repair makes it resemble something recognizable.
2. Read local ripples instead of assuming one repeated texture
Inspect the water immediately above, below and beside the lettering. Note the local direction of elongated highlights, the gaps between dark ripples and any visible change in scale across the photograph. A calm patch and disturbed water near a boat can need different judgments even though both occupy the same image.
Trace any reflection that crosses the text from one visible end to the other. Identify where it breaks naturally into ripples and where its relationship with the shore, object or light remains clear. You are collecting reference points for inspection, not drawing a replacement reflection or specifying a water pattern to the editor.
3. Keep the selection limited and the references visible
- Open the working photo in TextWiper and zoom in. Use Pan to inspect the reflected features on both sides before selecting the unwanted word.
- Choose Brush and cover the visible letters, including their own outline or shadow. Keep clear stretches of ripple and reflection outside the mask where possible.
- Use Erase to recover an accidental selection over an intact glint or reflected edge. A broad rectangle is unnecessary when the letters have narrow, separate shapes.
- Add Protect over nearby visible detail you need to retain. If that protection also contains unwanted text, expect those input pixels to remain too.
- Find text is optional. Read and approve its recognition upload permission before using it, and review every suggested region against the actual letters on the water.
- Start with a small part of the overlay. Inspect its repair before extending the existing mask to more letters and repairing the combined selection again.
4. Compare repair choices without treating water as disposable
Quick repair can be a starting point for small lettering over a relatively smooth patch. Smart repair may produce a different estimate when the patch contains texture. Compare the same selection and inspect both the repaired region and its surroundings. A convincing collection of ripples can still alter the shape or position of a meaningful reflection.
The manual workflow remains free during beta. Whole-image automatic cleanup is a separate limited trial with sign-in, availability and its own upload permission. It may change details across the picture; switching to it does not guarantee preservation of boats, reflected people or shoreline details. Choose by the scope you can responsibly inspect.
5. Inspect ripple continuity and reflected meaning separately
After repair, view the complete result first. Check where bright and dark ripple segments enter and leave the former text area. Look for an abrupt straight seam, a smooth island surrounded by textured water or several unnaturally identical highlights. Compare these transitions at a larger scale as well as at the size the photograph will be shown.
Then inspect the reflected objects. Has a tree trunk become two dark columns? Has a light moved sideways, or has the patch introduced a boat-like shape? Use Show comparison to locate changes and Hide comparison to review the whole picture. Changing the mask returns the view to the original; run repair again before judging the revised selection.
6. Stop when the hidden reflection cannot be checked
Stop if the lettering covers most of an important reflected feature and the replacement changes its identity or implied position. Protect can preserve visible input, but it cannot reveal the authentic scene beneath the text. Broadening the mask can remove additional clues. An unobstructed original, a suitable crop or keeping the overlay may be the better choice.
Export only a reviewed version and reopen the downloaded file. Check the reflection against the original at the intended display size, retaining both copies. For a record of real objects or conditions, do not describe invented reflected detail as recovered evidence. The tool estimates missing pixels; it does not verify the physical scene behind the overlay.