PRACTICAL IMAGE EDITING
Remove Added Promotion Text from Curved Product Packaging
A promotion overlay across a bottle or jar can hide the lighting cues that make the package look round. Cleaning it is not simply an edge-following task. Work only on a photo you own or may edit, identify the added overlay and judge whether its removal leaves a believable curve without changing the actual product or its printed information.
Published 2026-10-17 · Updated
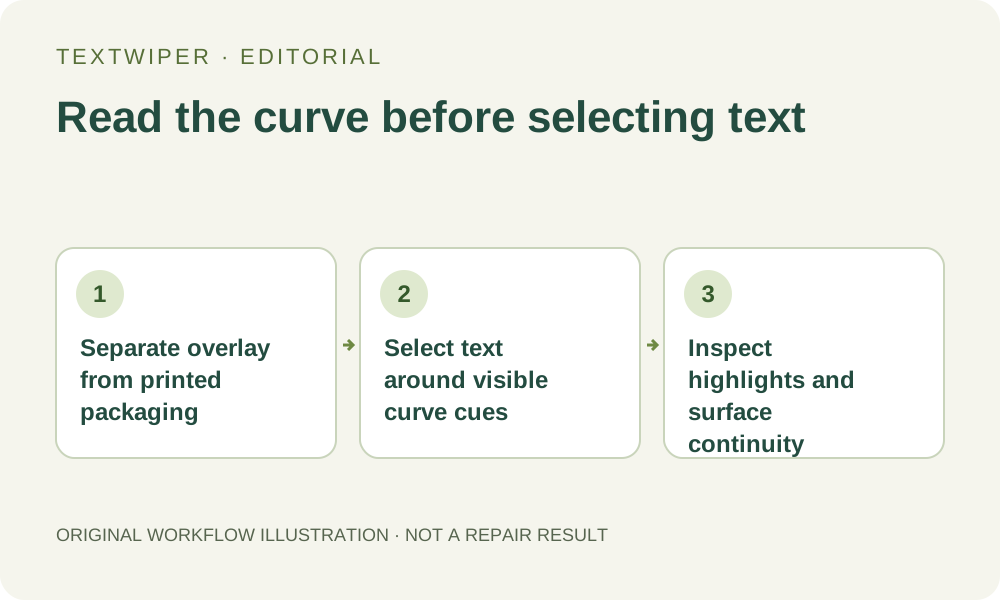
1. Distinguish an added overlay from the real label
Use a working copy of your own product photograph. Establish which lettering was added for the campaign and which lettering belongs to the photographed package. A bright SALE caption across the bottle may be an overlay; the ingredient panel, capacity and brand printed on the bottle are product information. Do not treat everything readable as a removal target.
If the layered promotional design is available, remove its added text layer there. On a flattened picture, TextWiper has no knowledge of the package design beneath the caption. If the overlay hides a required label, a model number or a defining product feature, use an authorized unmarked source or another photograph rather than inventing that information.
2. Map the lighting that makes the surface appear curved
Before painting, look above and below the overlay. Find the broad highlight, its softer transition into the darker side and any narrow reflection strip. Trace whether those features bend with the bottle or jar. A dark letter crossing a bright strip may require a different inspection from the same letter sitting on an evenly lit portion.
Use the visible rim or shoulder as another reference. A circular opening can appear elliptical in the photograph, and a curved printed line may narrow toward the side. These are visual cues to preserve, not measurements that let the tool recover a hidden three-dimensional surface. Do not flatten a genuine light reflection merely because it resembles a text stroke.
3. Select the overlay with useful surface gaps intact
- Open the working copy in the image editor and enlarge the added promotion text until its visible edge and shadow can be distinguished.
- Use Brush with short strokes to cover the overlay. Include its visible outline or shadow while keeping clear surface gaps between letters where practical.
- Avoid one large rectangle across the bottle when a narrower selection can retain the highlight and shading between the characters.
- Use Erase to correct accidental coverage. Add Protect over genuine visible label text, a rim or a reflection boundary that must remain.
- Check protection overlaps: blue protection retains input pixels and can also retain an unwanted caption inside the protected area.
- If you choose Find text after recognition upload permission, inspect its proposed regions manually. A recognition box does not understand the surface curvature or distinguish a printed label from your overlay.
4. Try a local repair and read the full surface
Try Quick repair for a small area whose visible surroundings have a simple tonal transition. Smart repair is another manual option when texture or a wider interruption makes the first result unsuitable. Neither mode guarantees a plausible curved reflection. Keep the reviewed mask small; a larger green area gives the repair more product surface to estimate.
After repair, inspect the complete result before opening comparison. Then compare a bright reference above the former lettering with its continuation below it. Changing the mask returns the preview to the original, so run repair again to assess the revised selection. Do not judge a new mask using an earlier completed result.
5. Look for flattening, pinches and broken highlights
Follow the highlight from top to bottom. Does its width change smoothly, or does it abruptly widen into a flat painted patch where the caption was? Look across the surface as well: the bright center should not jump suddenly to the darker side without a visible reason. Check for repeated texture that makes the package look dented or stretched.
Check the shoulder, rim and any visible printed baseline as a group. A locally smooth patch can still change the apparent roundness of the container when seen at normal product-card size. This differs from removing text next to an outer edge: even a repair far inside the silhouette can distort the product through its shading.
6. Reject a tidy patch that changes the product
Stop if the result changes label wording, the apparent package shape or a characteristic surface detail. Protect preserves visible input areas; it does not certify the content inferred underneath a caption. A convincing invented highlight is not proof that the original photograph has been restored. For important product details, another source image is the safer practical route.
Keep the original and download a reviewed copy. Reopen it at the size used in your listing and inspect the repaired surface together with the real label. Do not use this workflow to remove necessary disclosures or misrepresent the item. The goal is to clean your added promotion while keeping an honest and recognizable view of the product.