PRACTICAL IMAGE EDITING
Make a Second Editing Pass from a Reviewed PNG
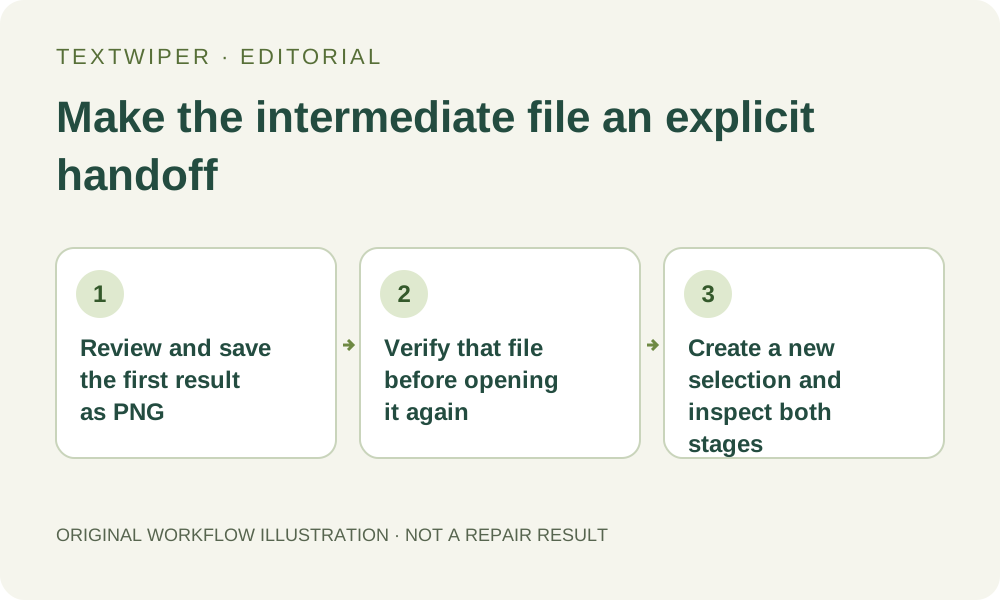
Sometimes a reviewed edit becomes the starting point for a genuinely separate task. In TextWiper, that requires an explicit file handoff: download the accepted result, check the saved PNG, then open it as a new image. Changing a mask in the existing workspace does not automatically make the previous repair the source for the next one.
Published 2026-10-18 · Updated
1. Decide whether a second source is really needed
For several unwanted words in one original image, first consider selecting them together and repairing from that original. Adjusting the mask, Undo and Redo are usually a clearer way to revise that single task. An unnecessary intermediate file adds another version to manage and makes it easier to lose track of which pixels are already inferred.
A separate pass can make sense after you deliberately accept an initial result and need a different, bounded change. An example plan is to finish an authorized corner caption, approve that version, and later remove a separate annotation. This is a workflow example, not a new tested result or evidence that splitting an edit improves its quality.
2. Understand the source boundary in the editor
Manual repair takes the workspace's original canvas and its current mask as inputs. A selection change returns the preview to that original so the next repair can use the revised selection. The green mask is not a layer that automatically commits a prior result underneath every later stroke. Do not assume that a new repair button press stacks edits.
Opening a downloaded PNG is different: its decoded pixels become the new workspace input. Earlier inferred areas are now part of that source. The previous detections, selected regions, strokes and result do not transfer to the new file. Undo in this workspace is not a way to reconstruct the untouched photograph that existed before the intermediate file.
3. Finish and verify the first file before switching
- Inspect the complete first result with comparison hidden. Use comparison as an optional check, then review the final surface and all details you intend to keep.
- Download PNG and find the actual file in your browser's download location. A download message is not proof that you have checked the saved file.
- Open it independently. Confirm the correct image, dimensions, orientation, transparency where relevant and the accepted first change.
- Keep the untouched original separately. Give the intermediate copy a distinguishable name in your own storage, and note which part was changed.
- Only after that check, choose New image and open the verified PNG. Check the visible image again before beginning the next stage.
4. Rebuild a small selection for the second task
Start with a fresh, narrow mask over the new unwanted annotation. Use Brush, Area and Erase as needed, and protect visible details with the blue tool. If text recognition would help, request Find text separately and check its upload permission and positions; the first workspace's recognition is not an editable layer stored inside the PNG.
Choose Quick or Smart repair according to the current surrounding surface. Both manual paths and PNG downloads are free without an account during beta. Keep the second mask away from the accepted first patch when the task allows it. If it overlaps, the repair may use previously inferred content as context; no setting can certify that content as the hidden original.
5. Prefer a PNG intermediate without promising perfect fidelity
A PNG intermediate avoids adding another lossy JPG encoding stage. Exporting to JPG repeatedly can introduce additional compression artifacts, and TextWiper's JPG export also flattens transparent areas onto white. Switching an already compressed image to PNG does not undo its earlier damage or restore details that were never present.
A PNG is also not a project file. It carries the saved image, not your mask, protection strokes, account templates or editing history. Browser decoding and color handling still form part of the workflow. Judge the reopened pixels and actual file, rather than treating the format name as a guarantee of identical source bytes, preserved metadata or a better repair.
6. Stop when changes accumulate instead of improving
Compare the second result with both the verified intermediate and the untouched original. The intermediate helps locate the new change; the original helps you notice cumulative softness, altered shapes or lost meaningful text. A whole-image automatic trial is a separate workflow with upload, sign-in and allowance conditions; this guide does not require or silently repeat it.
If the first patch deteriorates, an object changes shape or repeated processing produces a larger uncertain area, reject the second result. Return to the saved original and plan a combined selection, or look for a better source. Keep only accepted versions, download the final PNG and reopen it. More passes are not a quality target, and this article reports no new repair measurements.