PRACTICAL IMAGE EDITING
Check Photo Orientation Before Selecting Text to Remove
A phone photo can appear upright in one viewer and need another check when it reaches an editing canvas. Before selecting unwanted text, confirm that the whole image has the intended orientation. TextWiper uses the browser's image decoding, but it does not offer a rotate or flip tool to correct a source that still opens the wrong way.
Published 2026-10-18 · Updated
1. Establish what the correct view should be
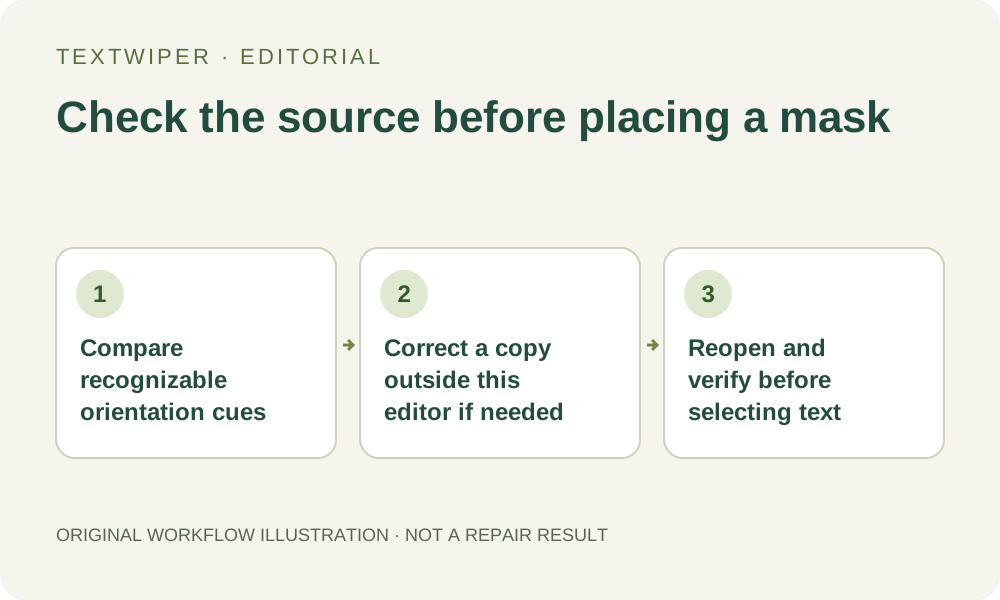
Keep the untouched source and open it in a trusted image viewer. Use recognizable cues such as a person's upright posture, an intentional sign, a handle on the correct side or the scene's actual horizon. A file named portrait.jpg is not evidence of which side should be at the top, and a mirrored sign is different from a sideways photo.
If you have several exports, identify which one the viewer is displaying. A thumbnail, messaging preview and original camera file need not be the same file. This check concerns the orientation of the actual input, not recovering more resolution or making the preview larger. Do not begin a detailed selection until you know which source you intend to edit.
2. Understand what happens when TextWiper opens it
When opening a file, TextWiper asks the browser to use the image's orientation information during decoding. The fallback also uses the browser's image decoder. The editor then places that decoded view on its canvas and displays its width and height. This is why checking the actual loaded image is more useful than relying on a thumbnail.
That implementation is not a promise that every unusual file, metadata tag or browser combination produces the view you intended. It also does not infer which way a subject ought to face. Review the actual canvas after opening the file; an earlier viewer's behavior and a successful upload are not substitutes for looking at the image itself.
3. Inspect the uploaded image before doing any recognition
- Open one authorized JPG, PNG or still WebP in TextWiper. The manual editor accepts up to 10 MB, 4096 pixels per side and 16 megapixels.
- Compare the top, bottom and a distinctive left-right feature with the source you checked. Look at the whole scene rather than only the unwanted words.
- Read the displayed dimensions as a cross-check. A width-height swap can be a reason to investigate, but dimensions alone cannot prove correct orientation.
- If the scene is already correct, proceed without rotating anything elsewhere. A tall picture is not an error just because its width is smaller than its height.
- If it is sideways, upside down or incorrectly mirrored, stop before Find text, brush strokes or repair. Correct a separate copy outside this editor first.
4. Correct and verify a separate source copy
Use an image application with an explicit rotate or flip command and make the correction that the scene actually needs. Save a separate file, close that preview and reopen the saved copy. Confirm that the change is in the file you will select, rather than only an unsaved viewing adjustment. Retain the original so an incorrect correction is reversible.
Return to TextWiper and use New image to choose that verified copy. Loading the new file starts a fresh image workspace, without carrying the old detections or removal mask across. Check orientation and dimensions again. If the two viewers still disagree, stop and investigate that file's export settings instead of repeatedly applying blind quarter-turns or assuming EXIF has been fixed.
5. Keep image orientation separate from angled lettering
An upright street scene may contain a diagonal poster or a curved label. That does not mean the entire photograph needs rotating. Text recognition can miss angled, decorative or small lettering; Find text is optional, requires upload permission and should be followed by a position check. It is not an orientation diagnostic or a promise to straighten text.
When the scene is correct, manually brush the unwanted lettering or refine detected regions. Use blue Protect for visible details you must keep, then try Quick or Smart repair as appropriate. The manual repair paths work in the browser and need no account during beta. Neither path turns a sideways source into an upright photograph or reconstructs authentic hidden information.
6. Check the saved result in its intended destination
Review the full result, download a PNG and open the actual saved file in your viewer. Confirm the same top, bottom and left-right features before publishing. If an output looks different in another application, return to the verified source and compare files directly. Do not try to repair an orientation discrepancy by selecting larger parts of the scene.
Keep the source, any externally corrected copy and the accepted result under distinguishable names in your own storage. TextWiper is not an archive of these versions, and a canvas export is not a promise to preserve every original metadata field. This workflow documents checks to perform; it does not claim a new cross-browser EXIF test or a measured correction success rate.