PRACTICAL IMAGE EDITING
Remove Annotations from a Collage Without Losing Panel Boundaries
A four-panel collage may look like four photographs, but a flattened JPG or PNG arrives in the editor as one image. A caption in each panel can cross different textures, while a shared border connects the composition. Plan local removal areas and check the layout as a whole; a batch workflow for separate files does not divide a collage for you.
Published 2026-10-17 · Updated
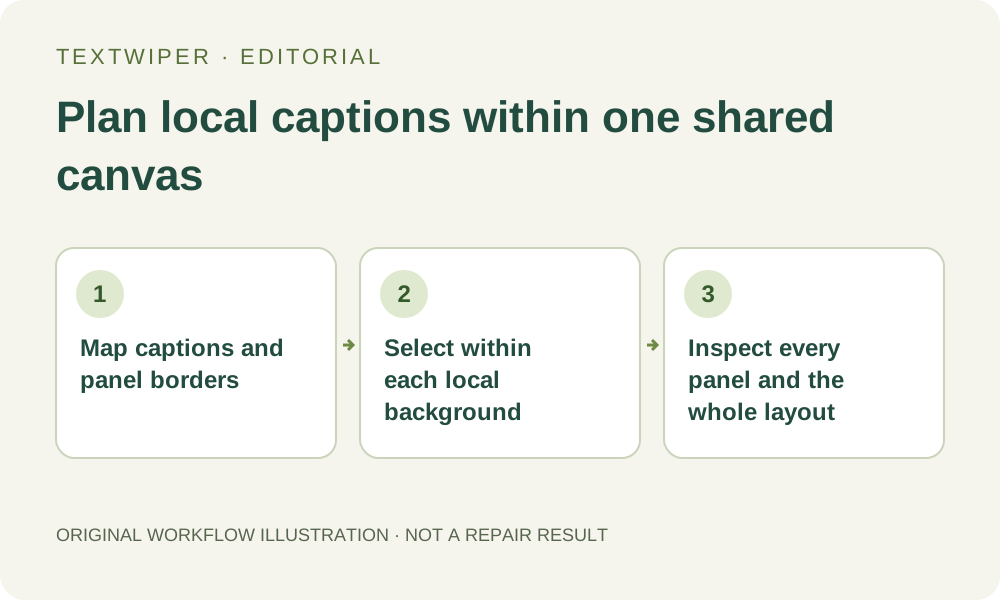
1. Prefer the collage project when the panels are still editable
Use your own collage or one you are permitted to modify. If the original design project still has separate photos, captions and frames, remove the annotation there and export again. That route preserves the visible background without asking a repair tool to estimate what the flattened text hides. Keep an unchanged copy of the composite for comparison.
This workflow applies when you have only a flattened still image. TextWiper does not recover its layers, identify panel boundaries for you or return each panel as a separate file. Check the entire collage against the normal single-image file and dimension limits; four small panels do not create four independent upload allowances.
2. Give each panel its own target and preservation checks
Before selecting, inspect every panel and the spaces between them. Make a simple visual inventory: a caption on a plain wall, a label over grass, another near a face, and a note crossing a white gutter. Decide which writing is unwanted and which labels, signatures or disclosures should remain. Do not apply one decision to all visible writing.
Follow horizontal and vertical dividers across the whole composition. Note their thickness, color and any intentional shadow or rounded corner. These are useful preservation references after repair. A patch that looks plausible inside one panel can still bend a shared border, bridge a gutter or make two separate photographs appear connected.
3. Build separate local removal areas on the same image
- Open the flattened collage in the single-image editor, rather than adding it to a batch as though its panels were separate files.
- Zoom into one caption and use Pan to position it. Choose Brush for an irregular footprint, or Area for a compact label on a suitable simple background.
- Keep the removal boundary close to the text and its visible effects. Do not draw one long rectangle across several panels merely because their captions share a row.
- Use Erase to withdraw coverage from gutters and panel edges. Add Protect over visible divider portions or nearby details that must remain.
- Inspect any text crossing a divider separately. Protection preserves visible input pixels, so protecting the same unwanted letters would also keep them.
- Repeat the selection check in each panel, then zoom out and inspect the combined mask before starting repair. Recognition, if chosen with upload permission, remains only a locating aid.
4. Choose repair with the mixture of backgrounds in mind
Quick repair can be a useful first attempt for small captions on simple backgrounds. Smart repair may help with texture, but neither mode guarantees consistency across unrelated panels. The current mask can contain several separate areas, and the chosen repair processes that selection together. The interface does not assign a different repair mode automatically to each panel.
Inspect the complete result after the operation. If one region fails, revise the selection or compare an appropriate repair choice; rerunning uses the loaded original and the current combined mask. Do not assume an earlier repaired panel is permanently committed while only a newly selected panel will be processed. Keep a reviewed download before deliberately starting a different source version.
5. Check the grid at whole-image scale and texture locally
First view the entire collage: dividers should remain continuous, gutters should keep their intended width, and the panels should retain their original separation. Then enlarge each former caption location. Check a smooth wall for a color patch, grass for smeared texture and a nearby subject for a damaged contour. A successful panel does not validate the others.
Use Show comparison to investigate a suspicious boundary, then Hide comparison to judge the complete output. Return to the original if you need to confirm whether a line was already uneven. The intended outcome is removal of the selected annotations while preserving the collage structure, not making every local repair look equally smooth.
6. Export one reviewed composition and keep the original
Download the finished collage as PNG or JPG and reopen it at its intended display size. It remains a single composition with the original canvas dimensions. PNG supports transparency; JPG flattens transparent areas onto white and re-encodes the whole image. Check border edges against that export background before placing the collage into another design.
Stop if text covers the exact intersection of borders or important details and a credible selection cannot be made. A source project, an authorized unannotated version or a revised layout may be preferable. Manual editing remains free during beta. The separate whole-image automatic cleanup trial does not turn a collage into independent panels and may alter content beyond the annotations.