PRACTICAL IMAGE EDITING
Crop or Repair? Choose How to Remove Text Near a Photo Edge
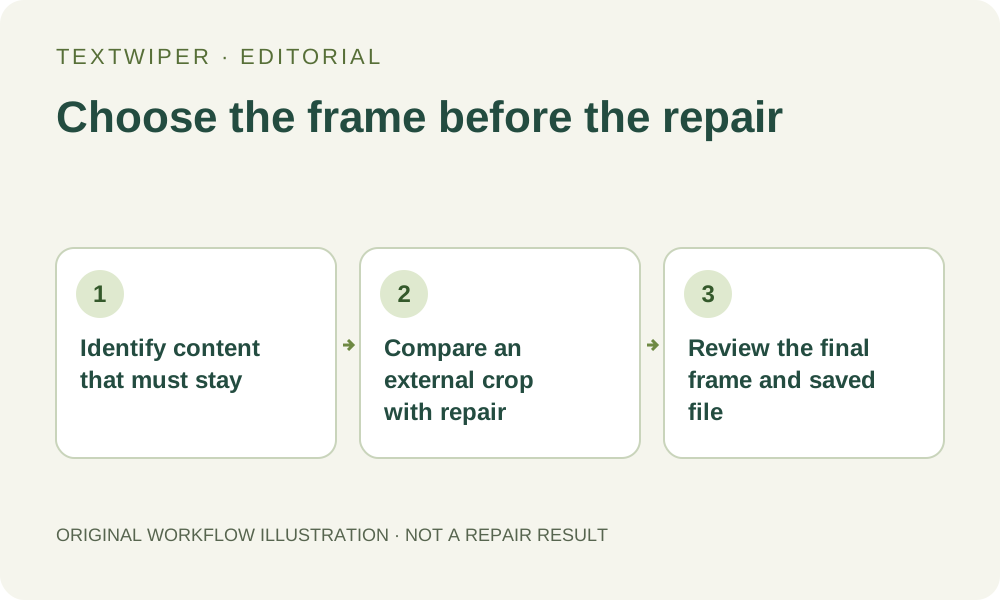
An unwanted caption near the bottom of your own photo creates two different choices: remove the strip that contains it, or retain the frame and repair the lettering. TextWiper offers local selection and repair, not a crop tool. Make the composition decision first so that a technically clean edit does not leave you with the wrong picture.
Published 2026-10-18 · Updated
1. Decide what the picture must communicate
Keep the original file and confirm that you own the image or have permission to change it. Describe its intended use: perhaps a landscape banner must retain a mountain reflection, or a product card must show the entire handle. Those requirements matter more than simply getting every unwanted letter out of sight.
Check for a layered source or an earlier copy before editing flattened pixels. Removing your own separate caption layer is preferable when that source exists. Do not remove a required disclosure or attribution merely because it lies near an edge. A smaller frame and a repaired frame both change the information the audience receives.
2. Check the whole rectangle a crop would remove
Imagine a straight crop boundary beyond the complete caption, including its outline and shadow. A crop removes an entire strip, not only the letters. Inspect both ends of that strip for fingers, packaging corners, horizon lines or other necessary content. If the line would cut a useful object, a crop has already failed that requirement.
Now check the intended aspect ratio. As a planning example, removing 100 bottom rows from a 1600 × 1000 image leaves 1600 × 900. Keeping a different required ratio could demand additional cropping elsewhere. These numbers illustrate a framing decision; they are not a tested output. Do not assume that enlarging the remaining image restores lost detail.
3. Use a separate crop workflow when the strip is expendable
- In an image editor that provides cropping, open a duplicate of the original and choose the required output ratio if there is one.
- Place the crop boundary past every part of the unwanted caption. Check the entire proposed frame, rather than concentrating only on the text.
- Preview the result at its intended display size. Verify spacing around the subject and any information near the other three edges.
- Save the crop as a separate candidate. Check its actual pixel dimensions before using it in a banner, product card or print layout.
- If an important part is clipped or the remaining frame is unsuitable, return to the untouched original. TextWiper cannot restore the missing crop area.
4. Use local repair when the frame must remain
Open the original in TextWiper, use Brush or Area to cover the unwanted lettering, and refine green coverage with Erase. Blue Protect can retain visible nearby details. Keep the selection close enough to avoid deleting useful content, while covering visible letter edges and shadows. At the image boundary, less surrounding background is available for repair.
Start with Quick repair for a small caption over an even surface; consider Smart repair for texture. Neither promises a convincing reconstruction. Manual selection, these repair options and downloads need no account during beta. Find text is optional and asks for upload permission; this decision does not require the separate, limited whole-image automatic cleanup trial.
5. Compare composition and artifacts separately
Inspect the full repair result with comparison hidden, then use Show comparison if you need to locate a change. Check both the repaired strip and the rest of the frame. A soft patch along a horizon, a shortened shadow or repeated texture can be unacceptable even though the original dimensions remain intact.
If you made a crop candidate, compare both candidates at the same intended presentation size. Ask two separate questions: does the composition still work, and does the edited surface look credible? Repair cannot certify the original detail beneath the caption. Cropping avoids synthesizing that strip but discards its content. Neither choice is automatically the better result.
6. Keep only a candidate that meets the actual use
Stop if both choices damage necessary content. Look for an earlier photo, a wider original or a design source instead of repeatedly enlarging the repair mask. This guide is about choosing a final frame, not a recipe for making every caption at the canvas boundary repairable. It supplies no new before-and-after test or success-rate claim.
For a manual repair, download and reopen the reviewed PNG before replacing any published image. Use the external editor to verify a crop candidate in the same way. Keep originals and candidates separately, record which frame you selected, and check that the actual website uses that saved version without applying an unexpected additional crop.